Nintendo Switch dock customizations
Here’s a post I started forever ago and just never got around to finishing… Enjoy!
Back in November of 2017, I was feeling ambitious. The Switch’s lack of a traditional D-pad, while arguably not the biggest deal in the world, had really started to bother me. Apparently, if I acquired the right tools and bought some inexpensive parts, I could customize my Joy-cons to my liking, so went ahead and did just that. I even documented the process in a blog post.
What I didn’t really mention back then was that, as a warmup for taking my Joy-cons apart, I had first customized my Switch’s dock. I took it apart and put its circuitry guts into a different casing. In fact, I actually ended up doing this twice. Allow me to explain.
Disassembling and reassembling Joy-cons looked to me like a difficult project—and it totally was, 100%—but I had bought the tools and I was gonna use them. So, to ease myself into it, I tackled a seemingly easer project first: a dock customization. My first time busting out the old iFixit Pro Tech Toolkit was for giving my dock a smaller, more portable profile.
Smaller. Easy To Carry. Blocks you Switch’s ventilation by 50%.
My choice for a new dock shell was the BASSTOP Portable Nintendo Switch Dock Replacement Case. I chose this basically on looks alone, and in hindsight, it was a bad choice. The small dock would surely be much more portable, but it had one glaring flaw that I didn’t notice until I completed the entire project. This case blocked the Switch’s ventilation ports by at least half!
(The wiser option would have been to go with this J&TOP dock shell, as it at least appears to have proper holes that do not block the Switch’s vents. But I hadn’t seen that one back in 2017.)
So I ordered a bad dock case. Worst still, I had completely disassembled my original Switch dock in order to do the customization! And while I still had all the pieces, the chances of me rebuilding it correctly were slim to none. Plus, it would have been a ton of work for no benefit. Buying a new dock would have cost me a whopping $90, so that was out of the question.
Desperate and annoyed (at myself), I began searching the internet for alternative dock configurations. To my surprise, I came across several 3D printable models in online forums, many of which you can download for free. Of course, as cool as the designs were, they weren’t much good to me personally, since I didn’t have access to a 3D printer. And then I found the perfect design…
3D Printable Mini Nintendo Switch docking station by Elroy Andela
Not only was Andela’s mini dock small and portable—even more compact then the BASSTOP case I had purchased—but it wisely reoriented the circuit board by 90 degrees. This put the USB ports front & center with HDMI and power in the back! No one else was doing this, for some inexplicable reason, and it made the design stand out as more practical than the rest. Most importantly though, this dock had deep grooves along the line where the Switch’s vents rest in the cradle, allowing for air to circulate. I absolutely had to have this dock!
It only took a little more searching to discover several services online who would 3D print designs and mail the plastic parts to you. Living in Seattle, I kind of assumed there must be 3D printing shops around town already—like Kinko's 3D—but sadly, I wasn’t able to find any. Instead, I ended up working with hubs.com to print the dock parts, and they shipped them to me from Ohio. (Thanks Hubs!)
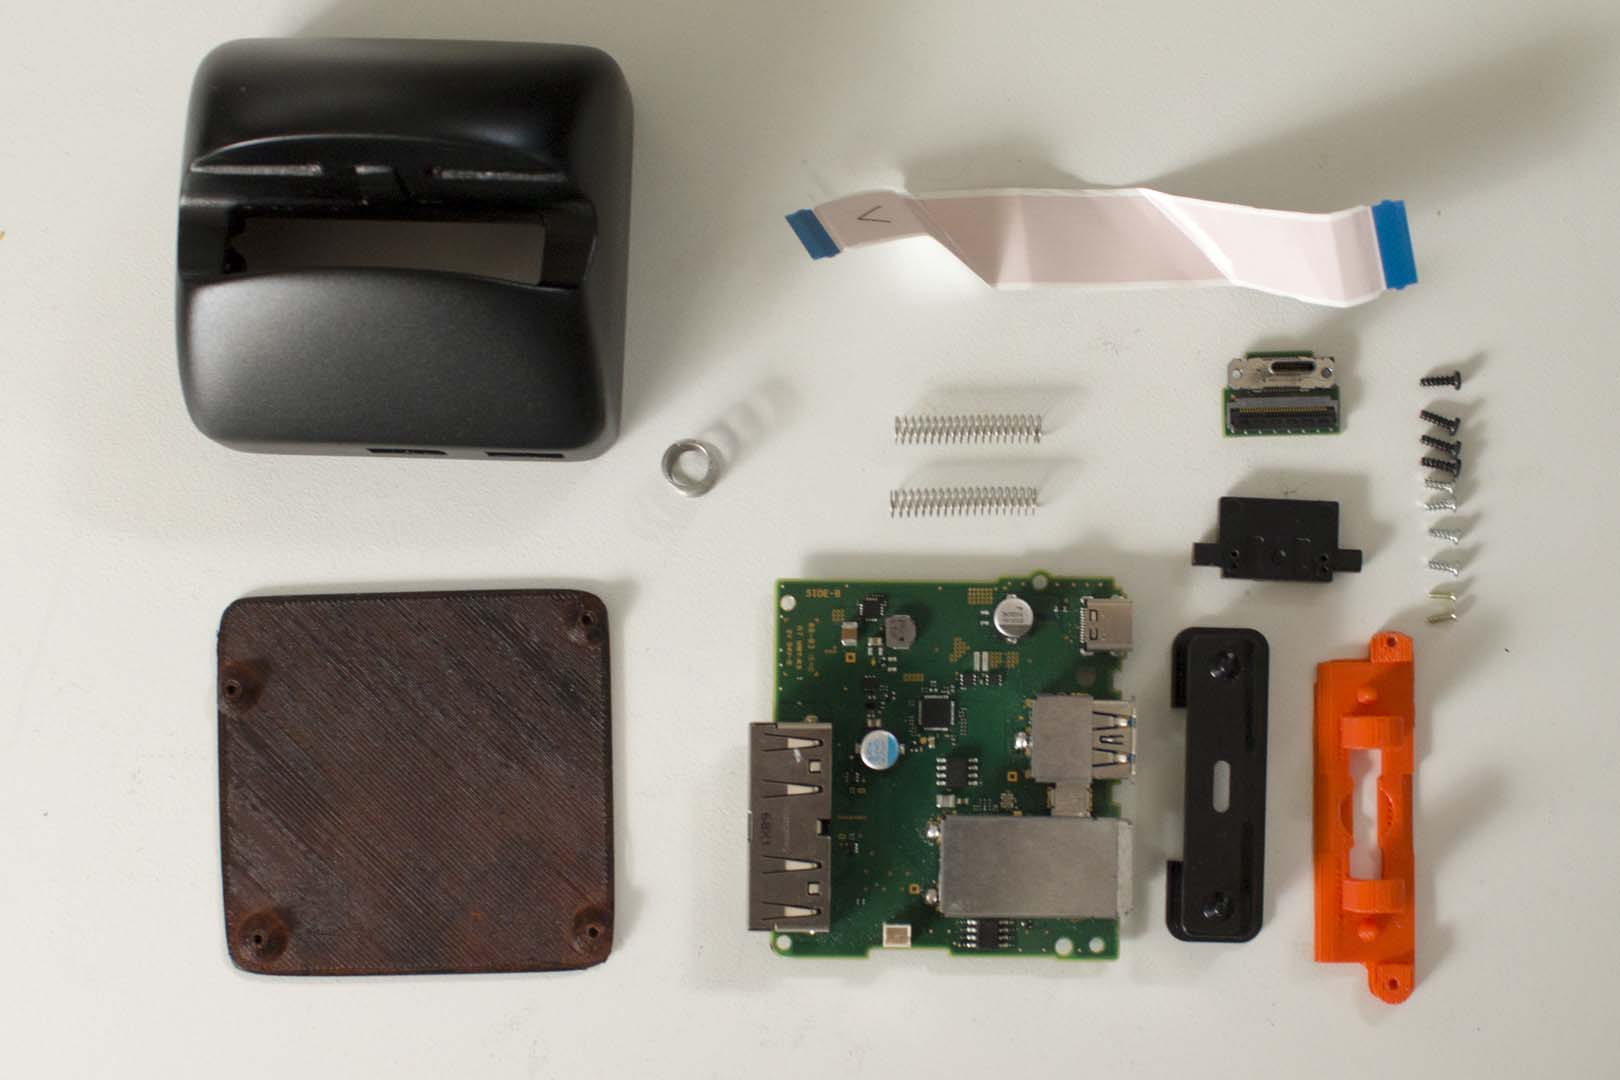
Once Andela’s mini dock parts arrived, I went about dissembling my dock for the second time. I removed the circuit board and any other necessary components from the BASSTOP case. I also salvaged any other parts from original dock that were required. Luckily, the new dock had a great set of instructions to follow, so doing this process for a second time was pretty easy.
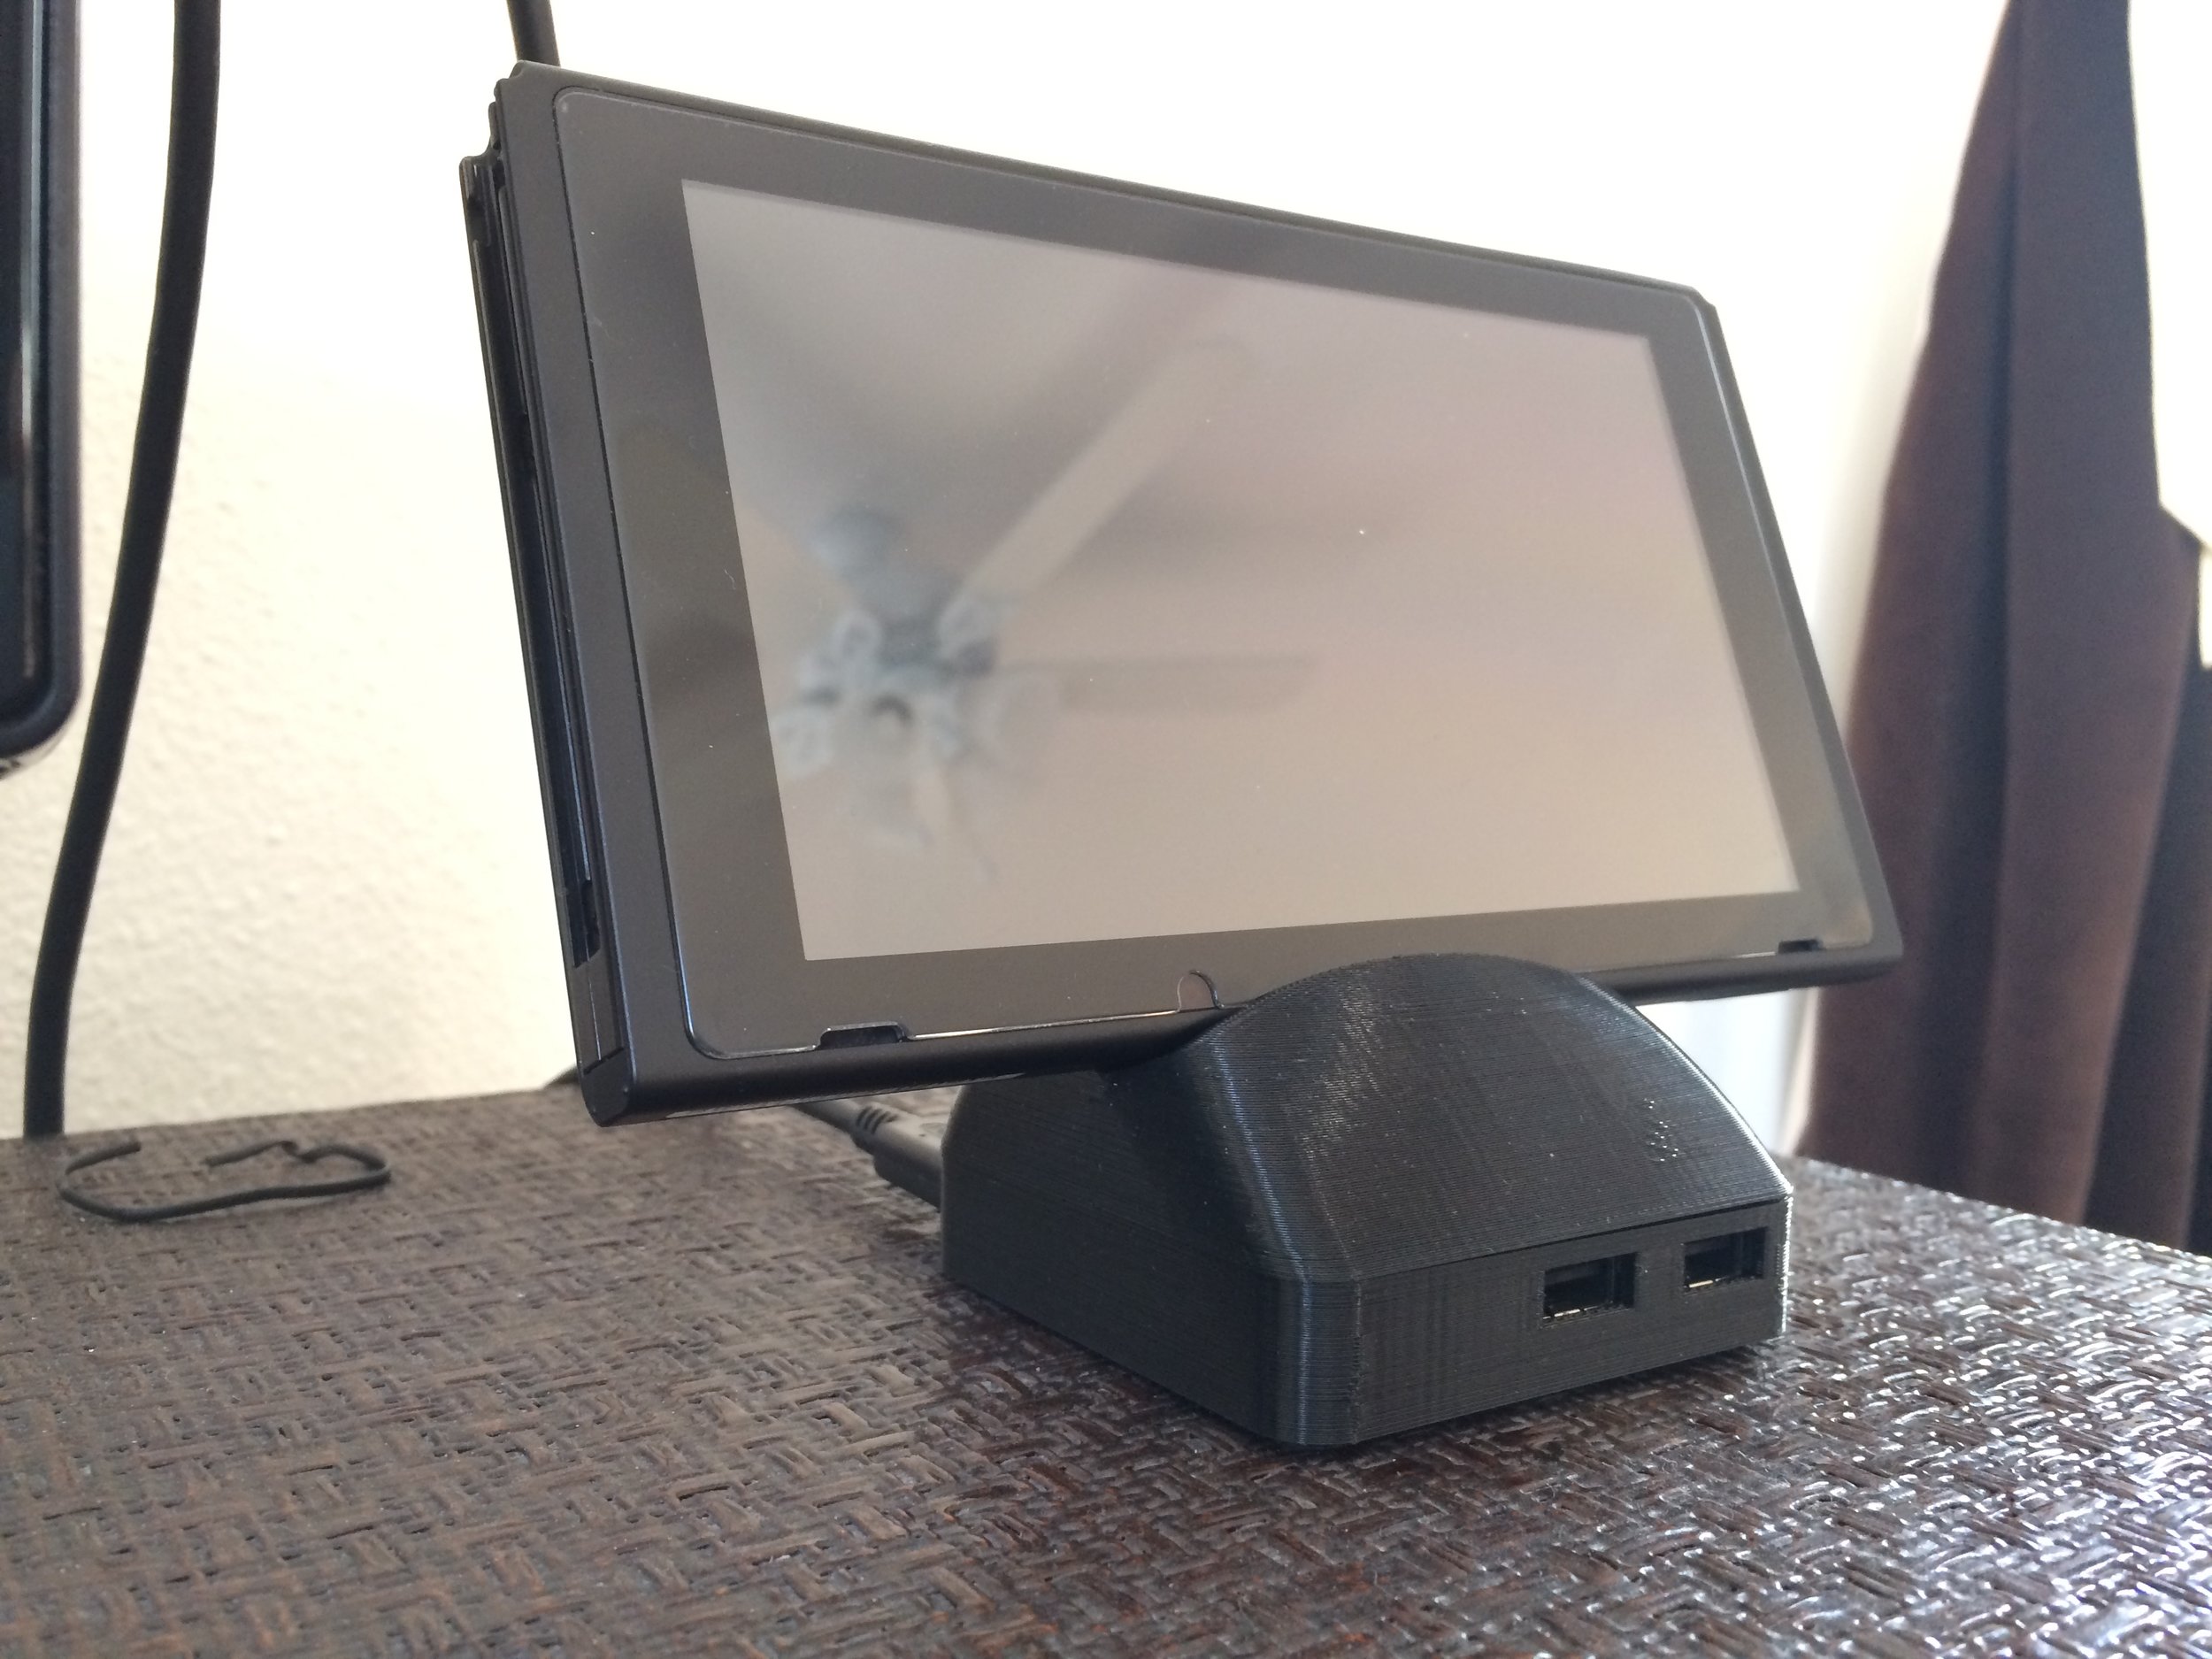
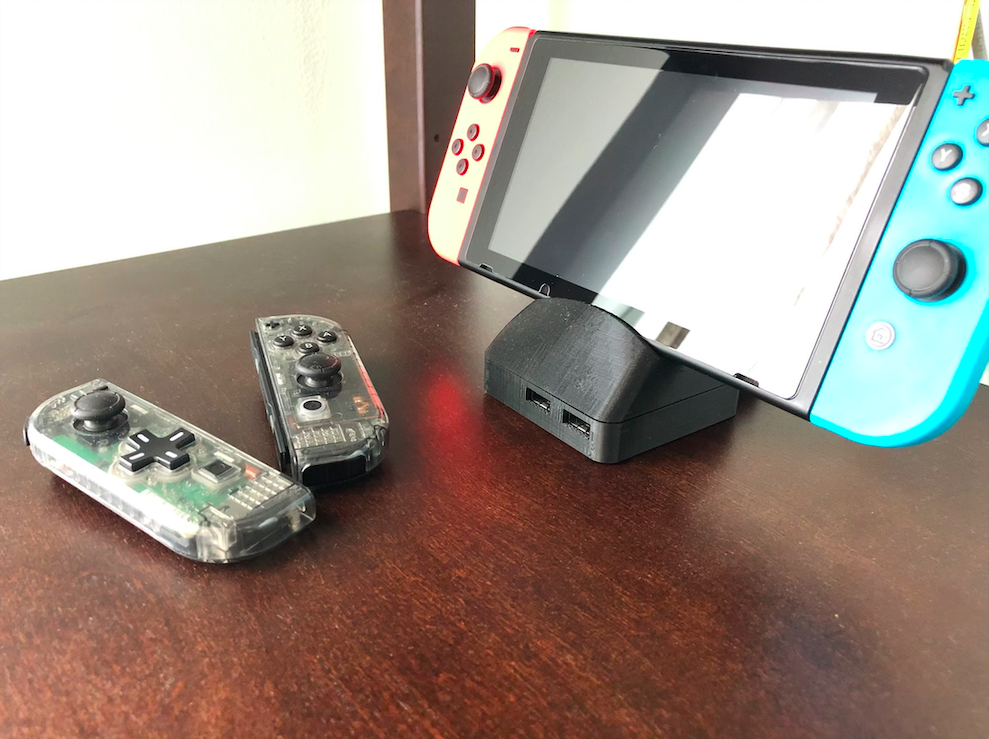
My new Switch dock is super portable, with smooth edges and a round top; it just slips into a bag for easy transport. It’s so small in fact, that I’ve nearly forgotten to pack an HDMI cable on multiple occasions. It has the USB ports on the front for easy access, and the HDMI and power cables in the back. (Which just makes sense, right?) It displays my Switch proudly, putting it literally on a pedestal.
The road getting there may have been bumpy, but I was very happy with Switch dock conversion in the end. Unlike my Joy-con adventure, I have no regrets with this project. In fact, I’d even recommend doing it yourself, if you’re so inclined. I mean, yeah, I did spend money a dock shell that I eventually threw out, but it wasn’t very expensive. And, cliche as it is, I did learn a lot in the process.


