Repairing the original Game Boy
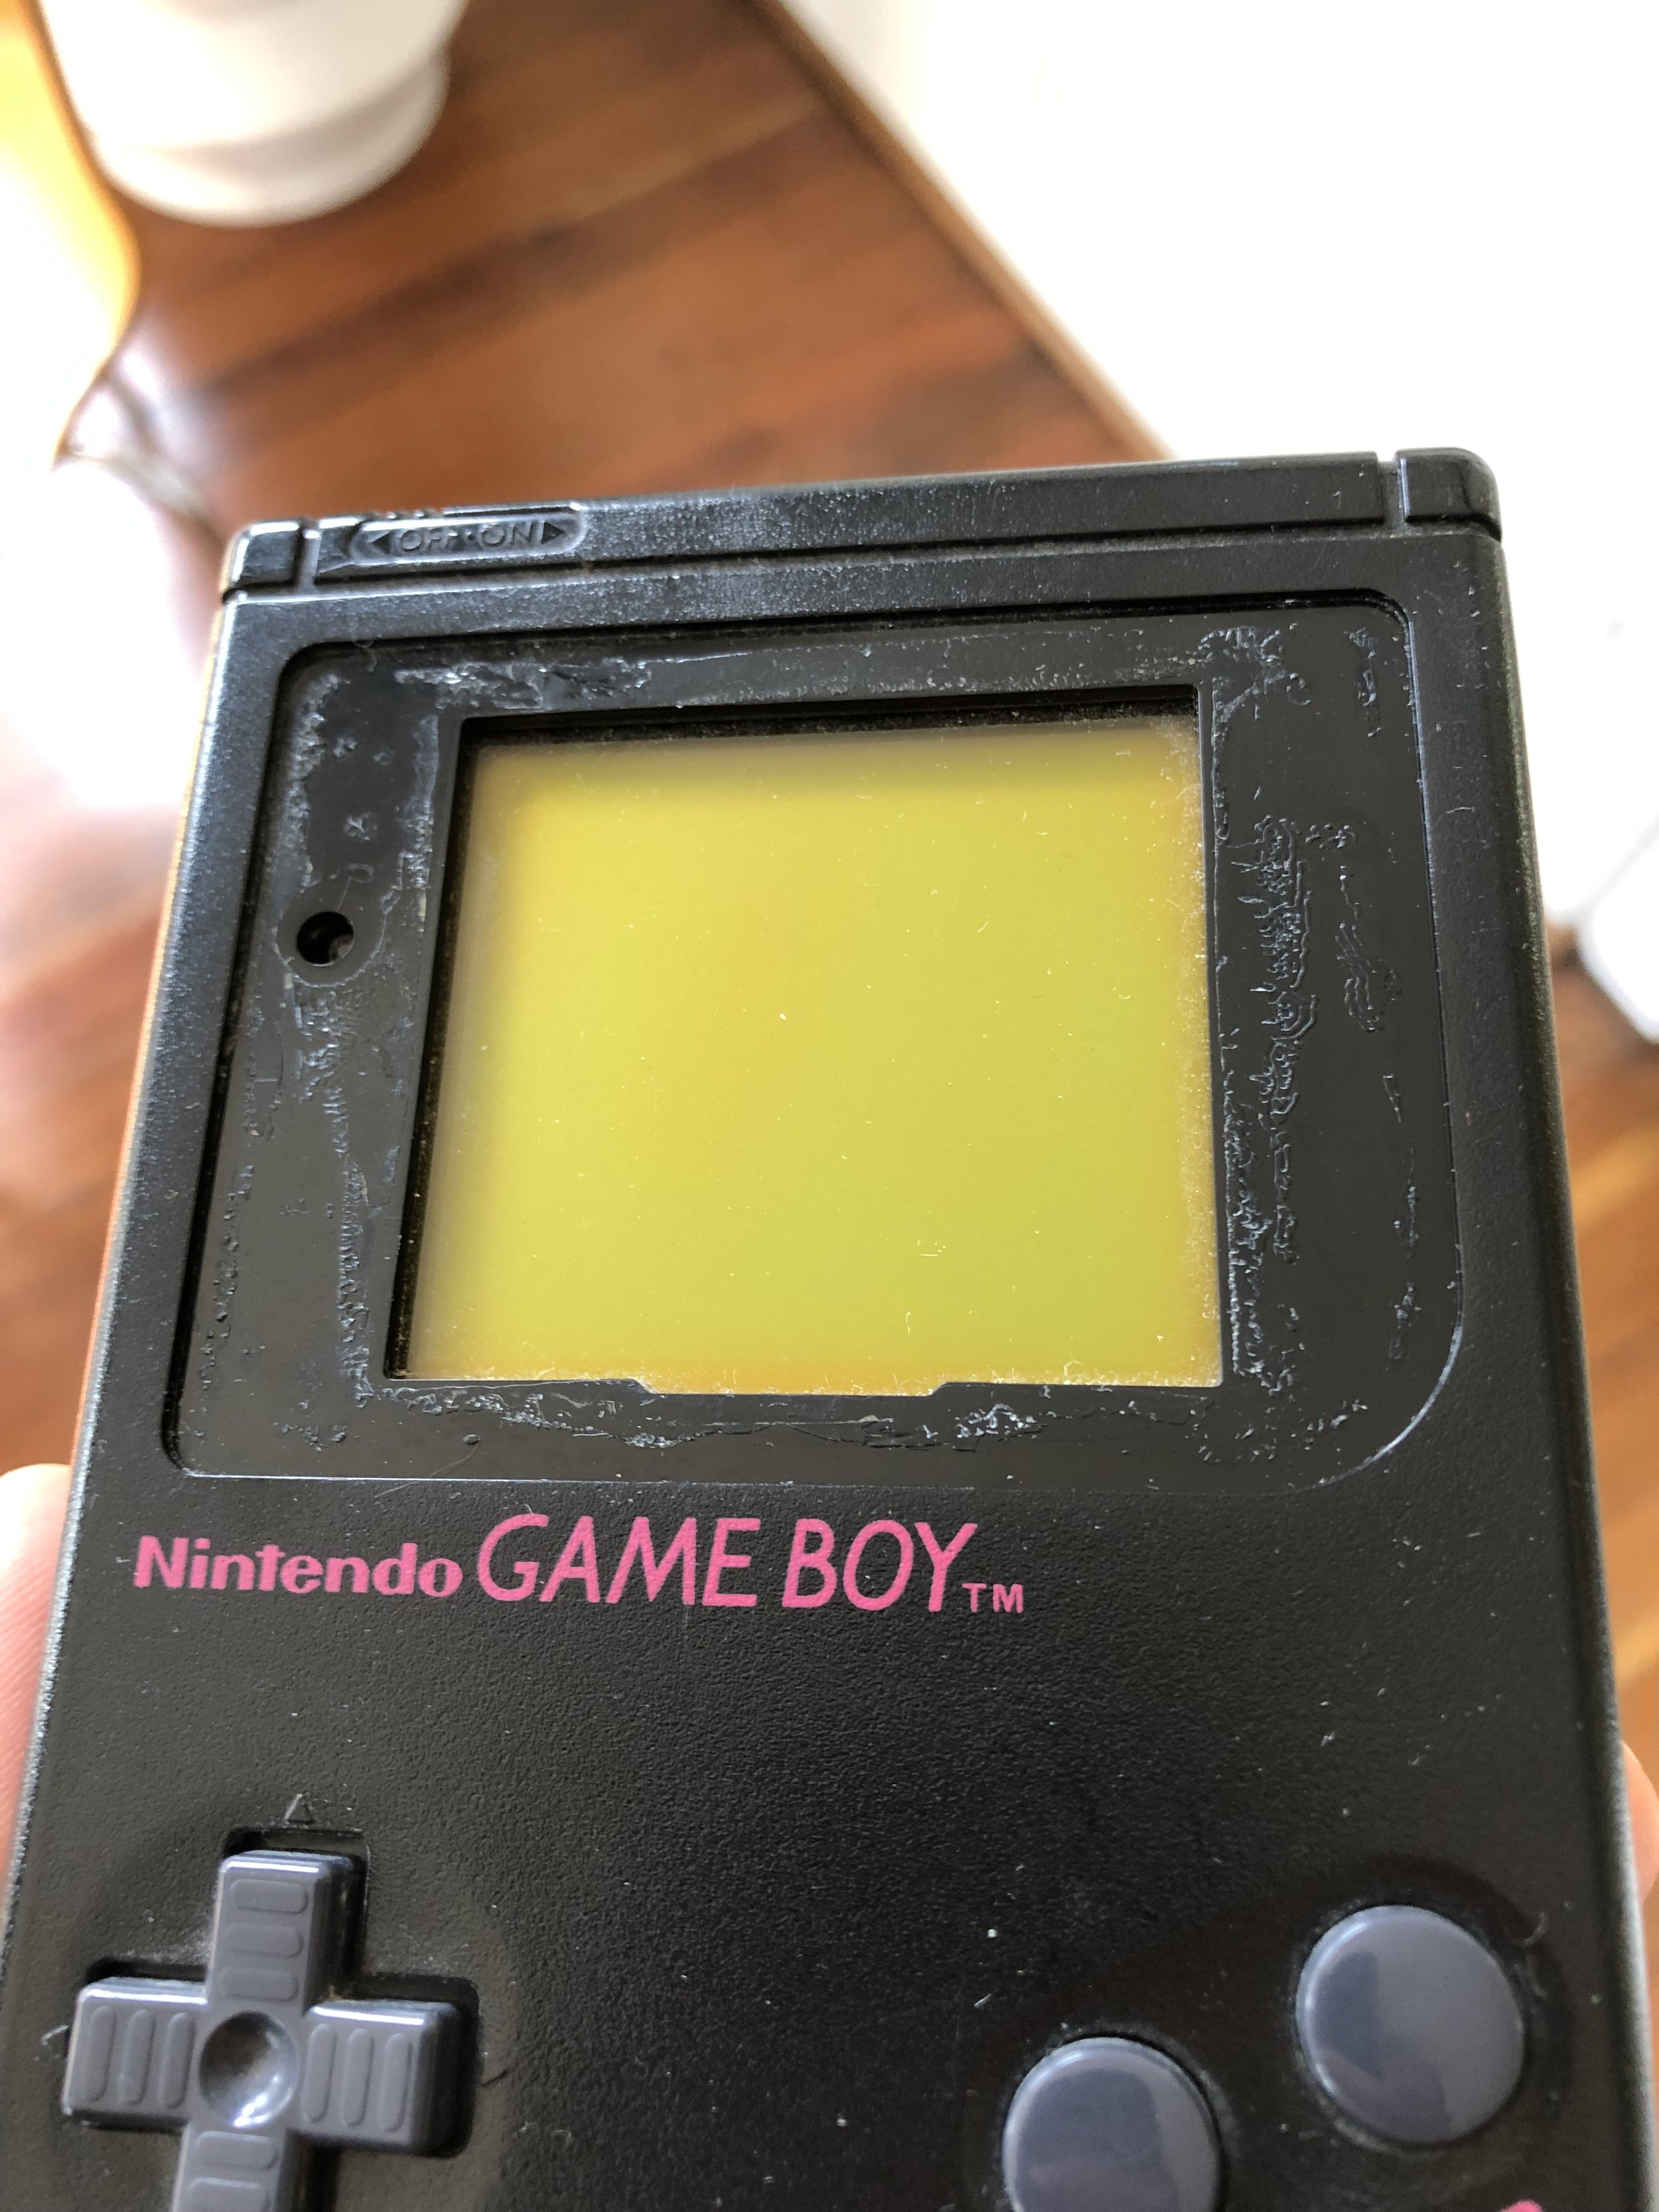
A while back I found my family’s (second) original Game Boy, a black DMG from the “Play It Loud” era. After years languishing in my Mom’s basement, it was missing its bezel/screen lens and would not power on. Compelled by nostalgia to relive gaming memories of my childhood, I swore to return the handheld to its former glory and set about making repairs.
So let’s get into it, shall we?
The Game Boy mostly only needed a good cleaning—and a new screen lens, of course. I ordered a replacement lens from an online store called “God of Gaming” and patiently waited for it to arrive. Since I already had my trusty iFixit Toolkit, I was ready to disassemble the Game Boy at any time.
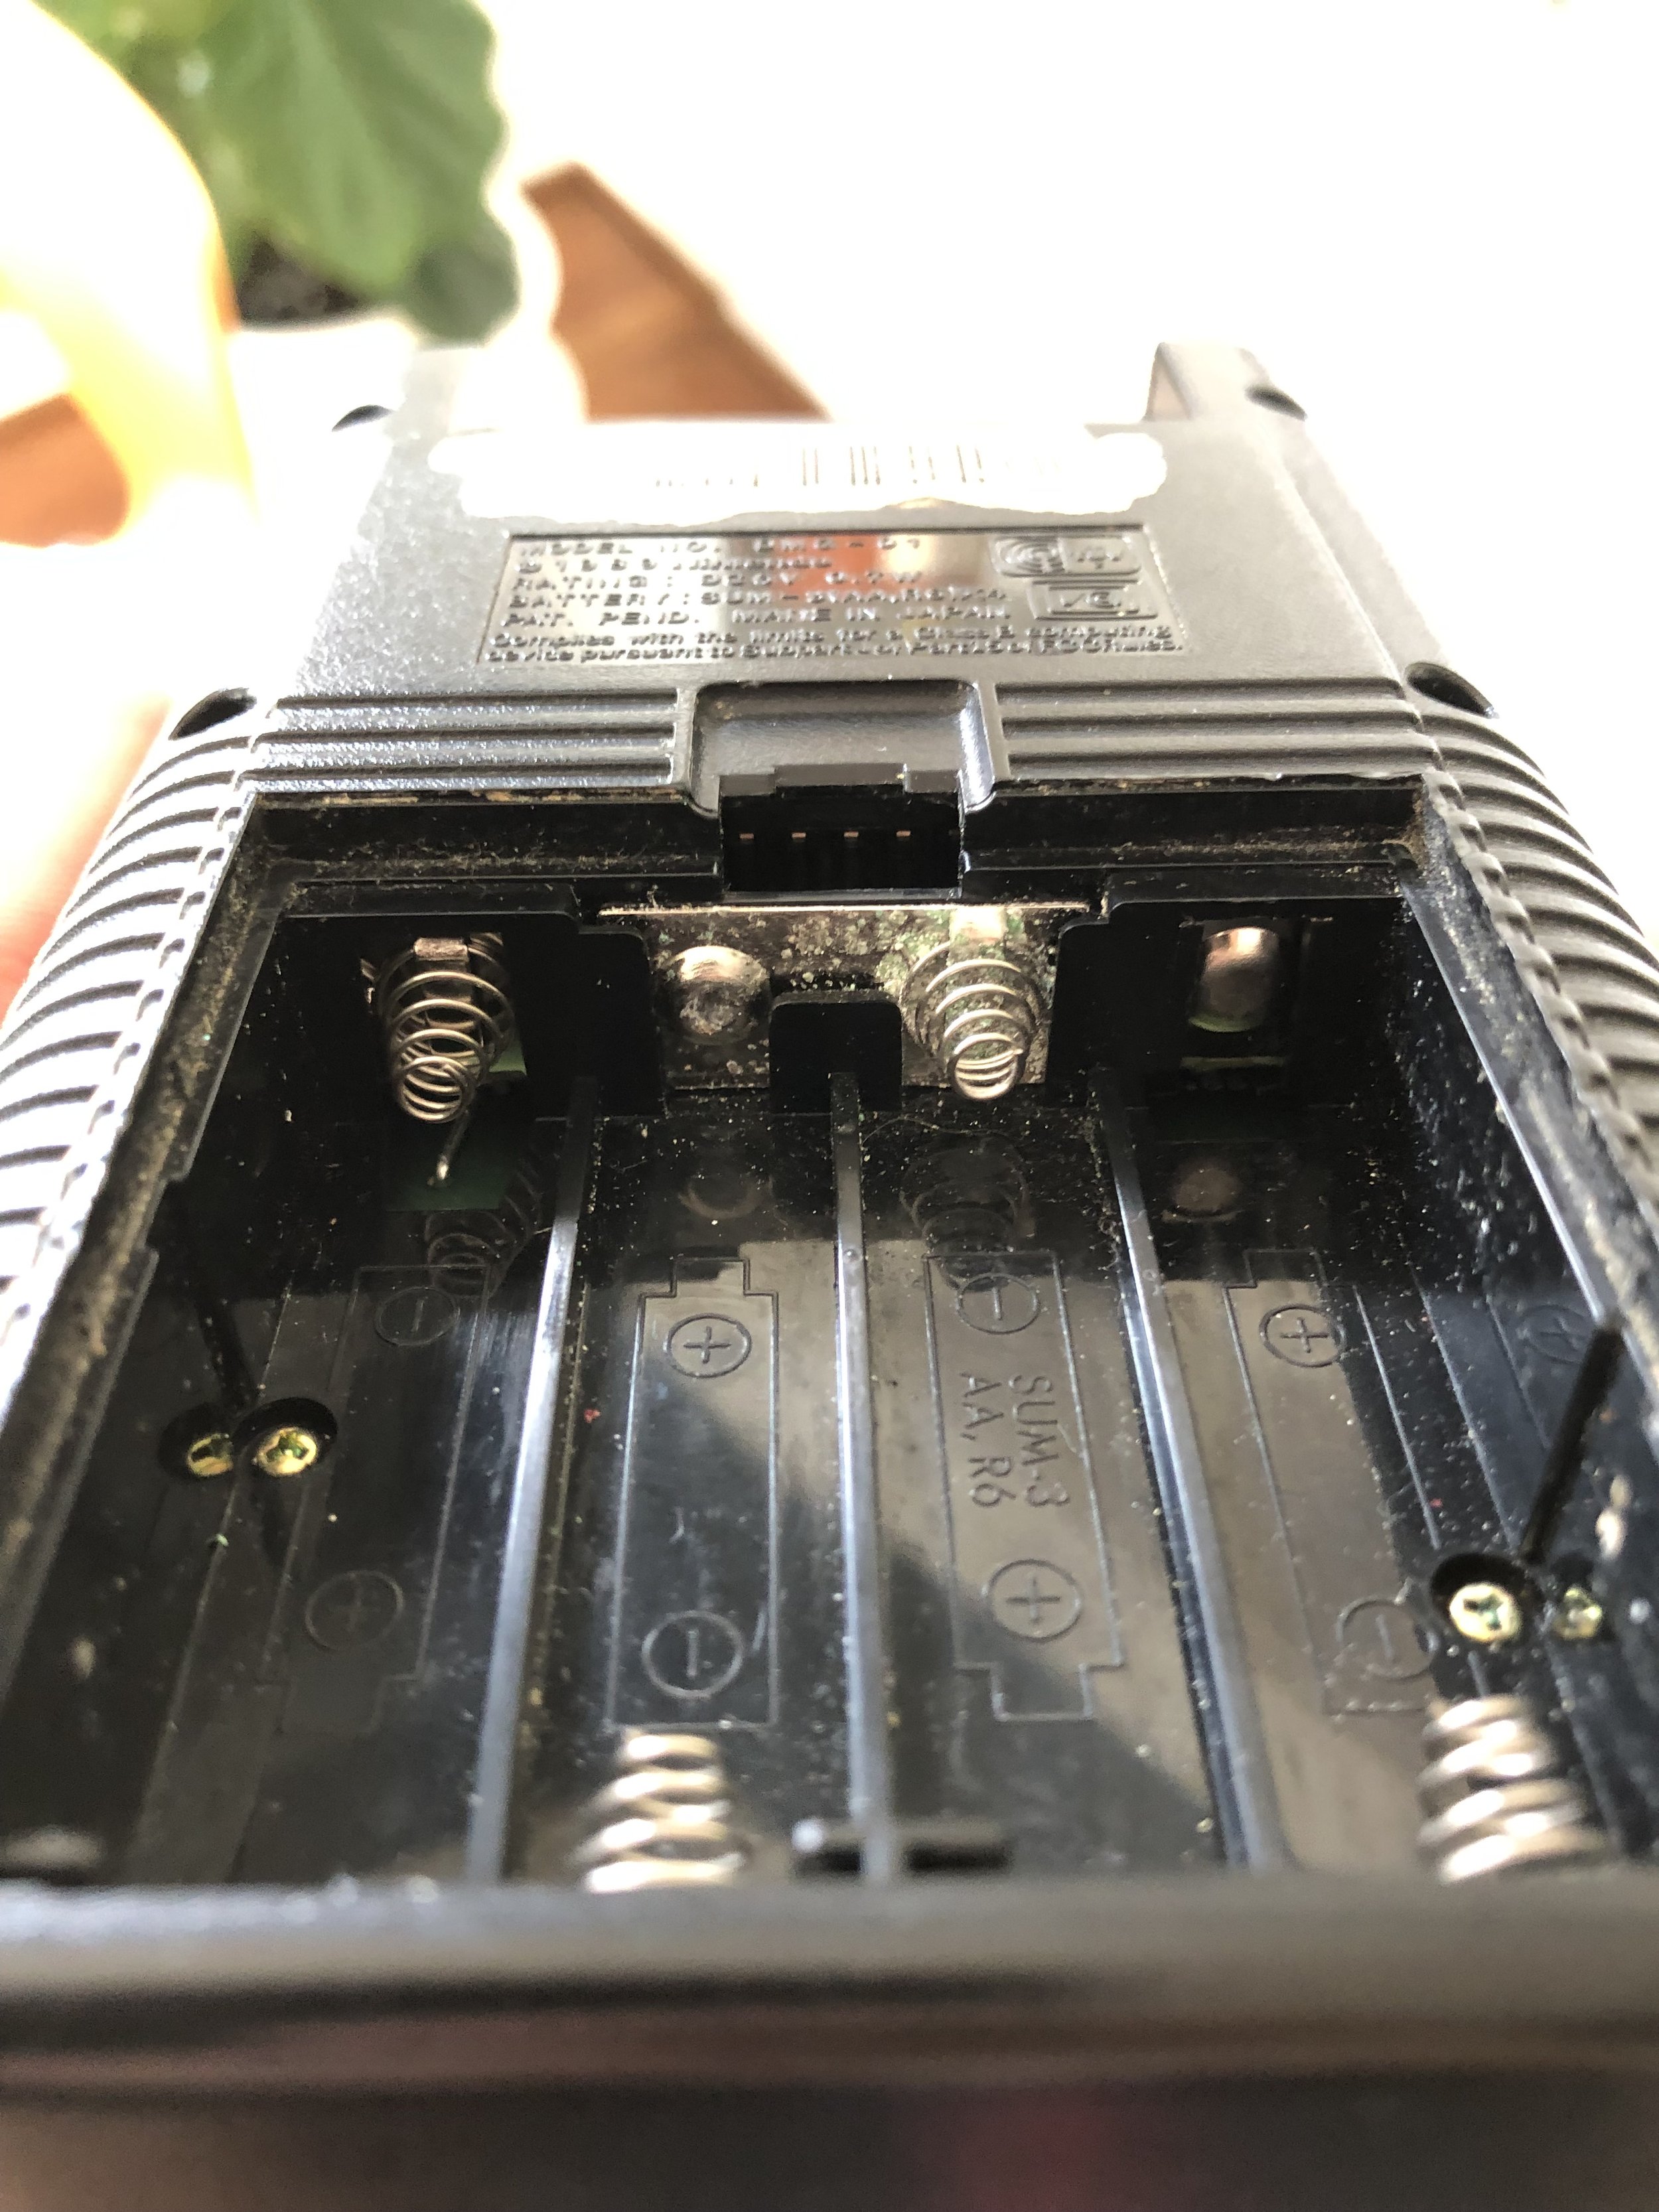
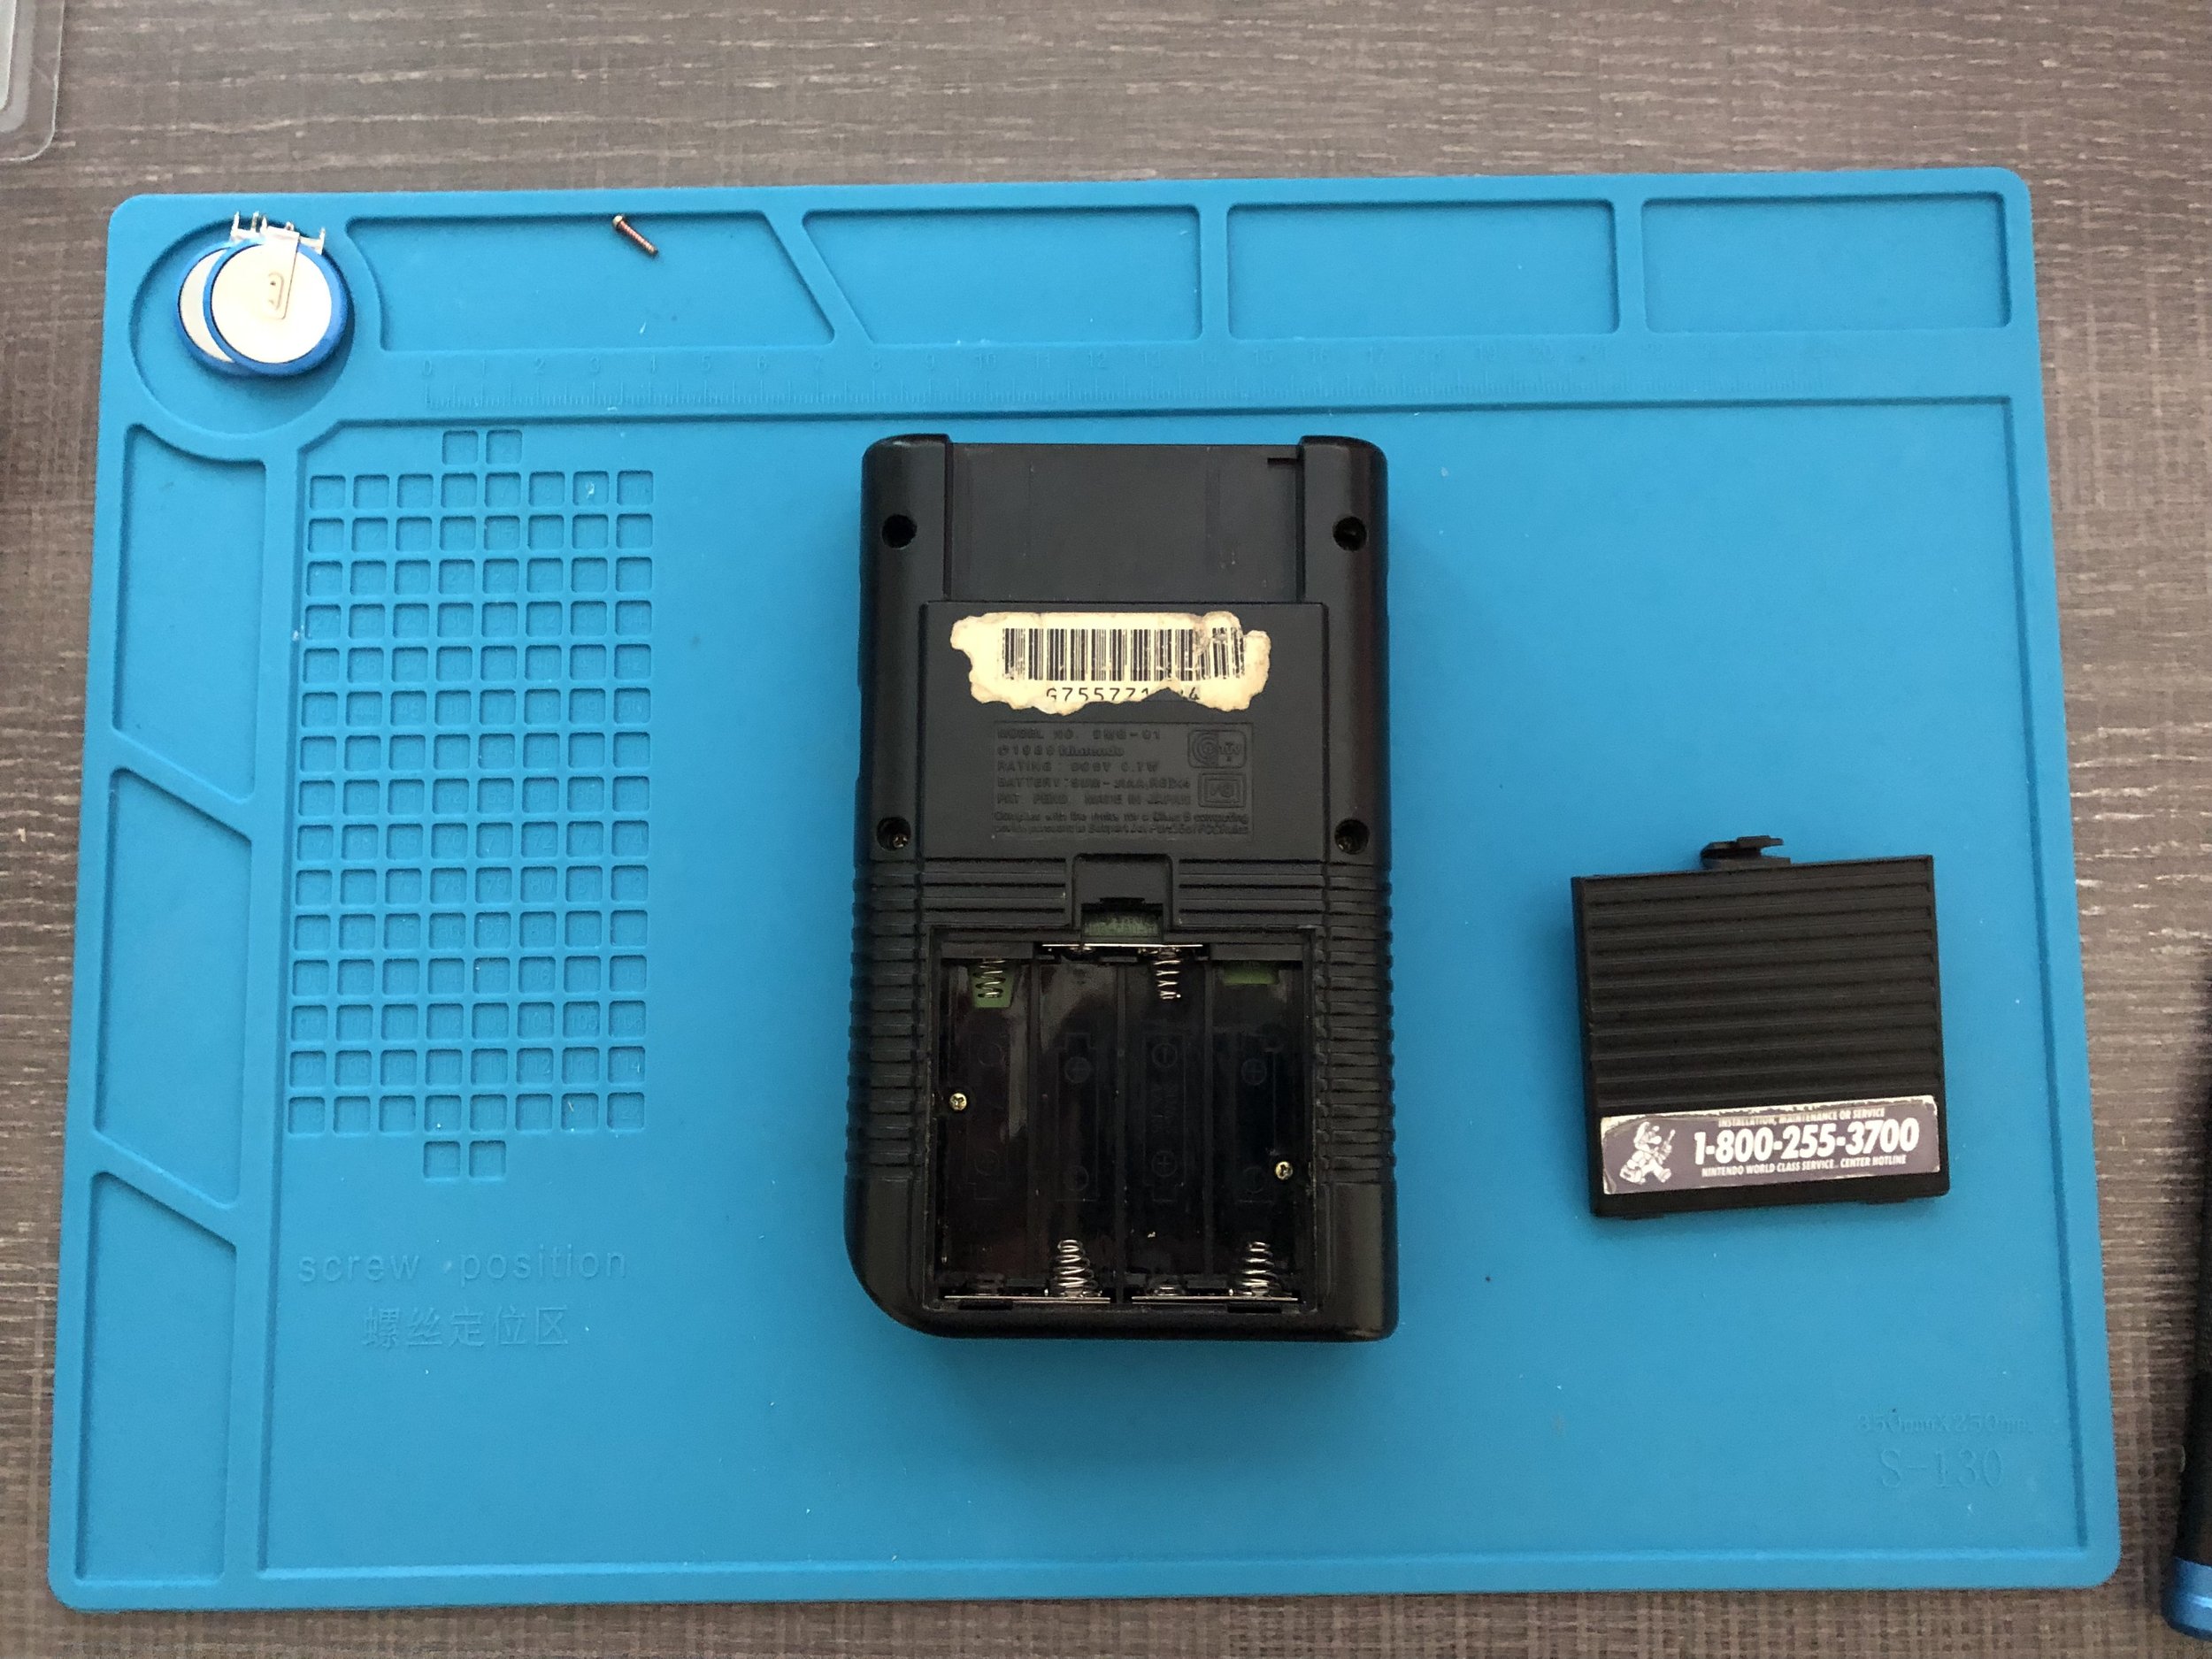
Looking into the Game Boy’s battery compartment, there were visible signs of battery corrosion, so it seemed safe to assume that was the reason the handheld wouldn’t power on. That being the case, my first step is to take everything apart and clean those battery contacts.
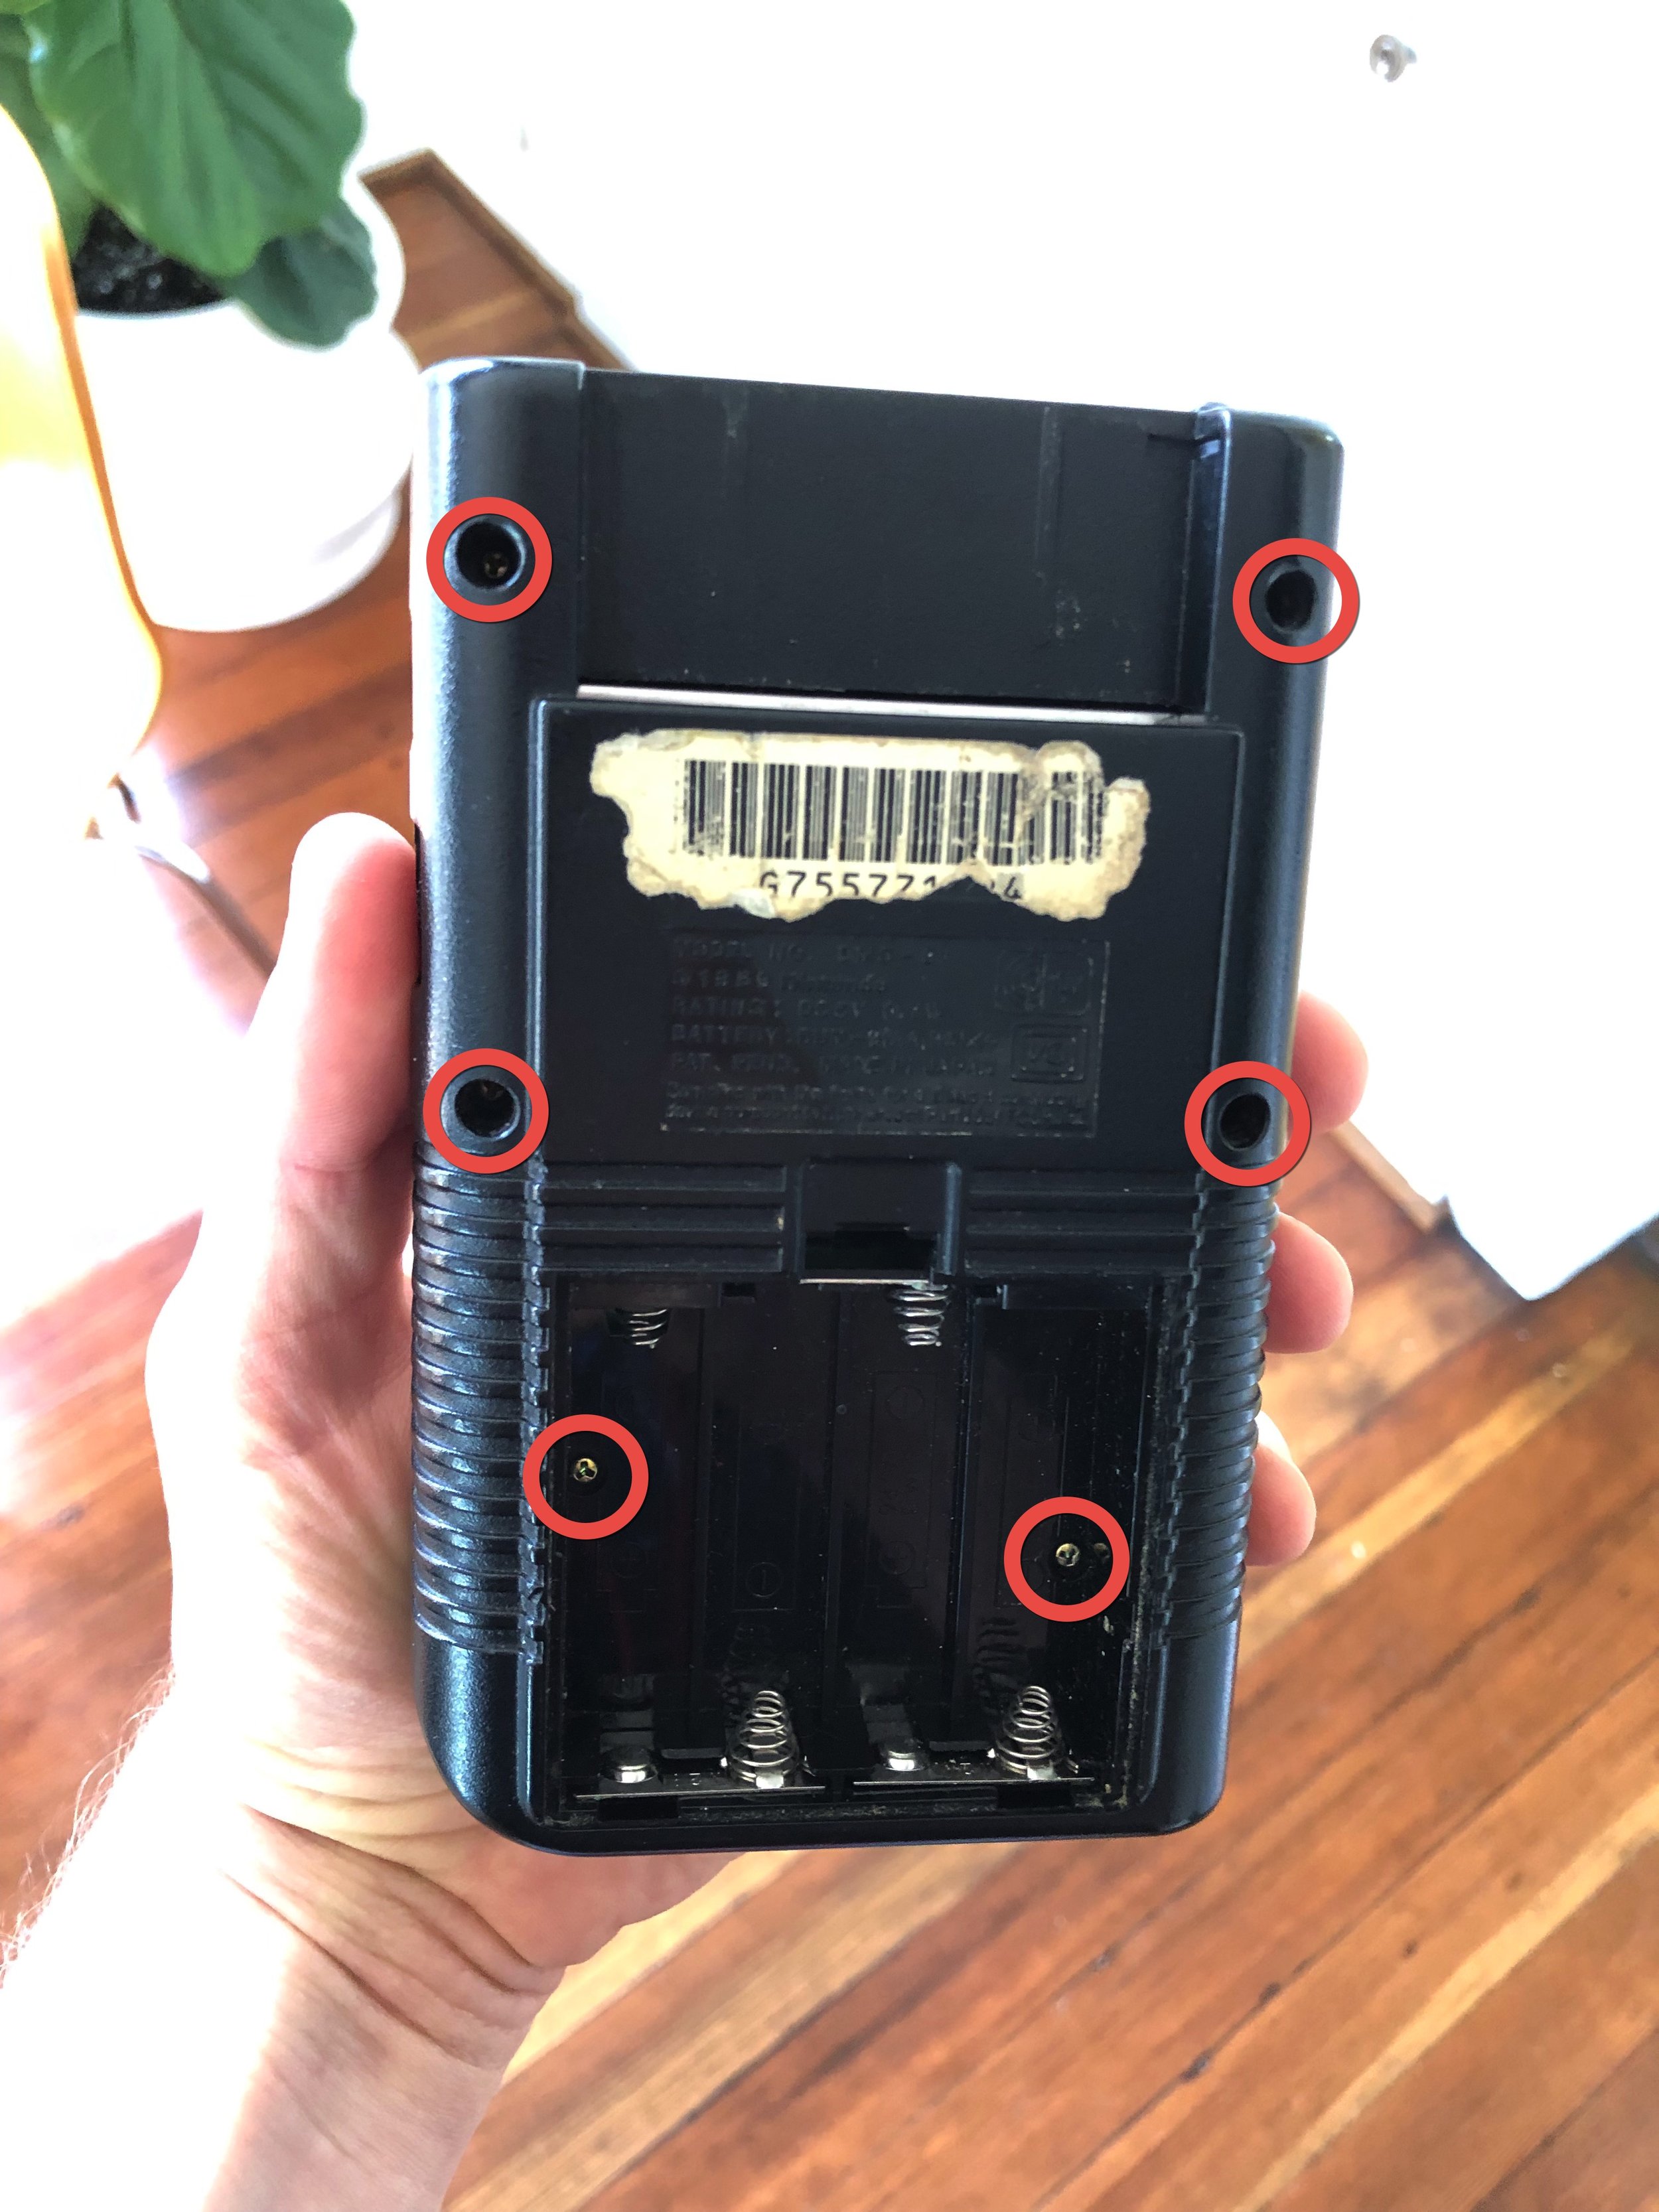
The original DMG Game Boy’s shell is held together with six little Tri-Wing screws. (These have a Y-shaped indentation, as opposed to a Phillips-Head one which is +-shaped.) If you plan on taking apart any Nintendo handhelds, from the original Game Boy to the Switch, you will need a Tri-Wing screwdriver to open the outer shell.
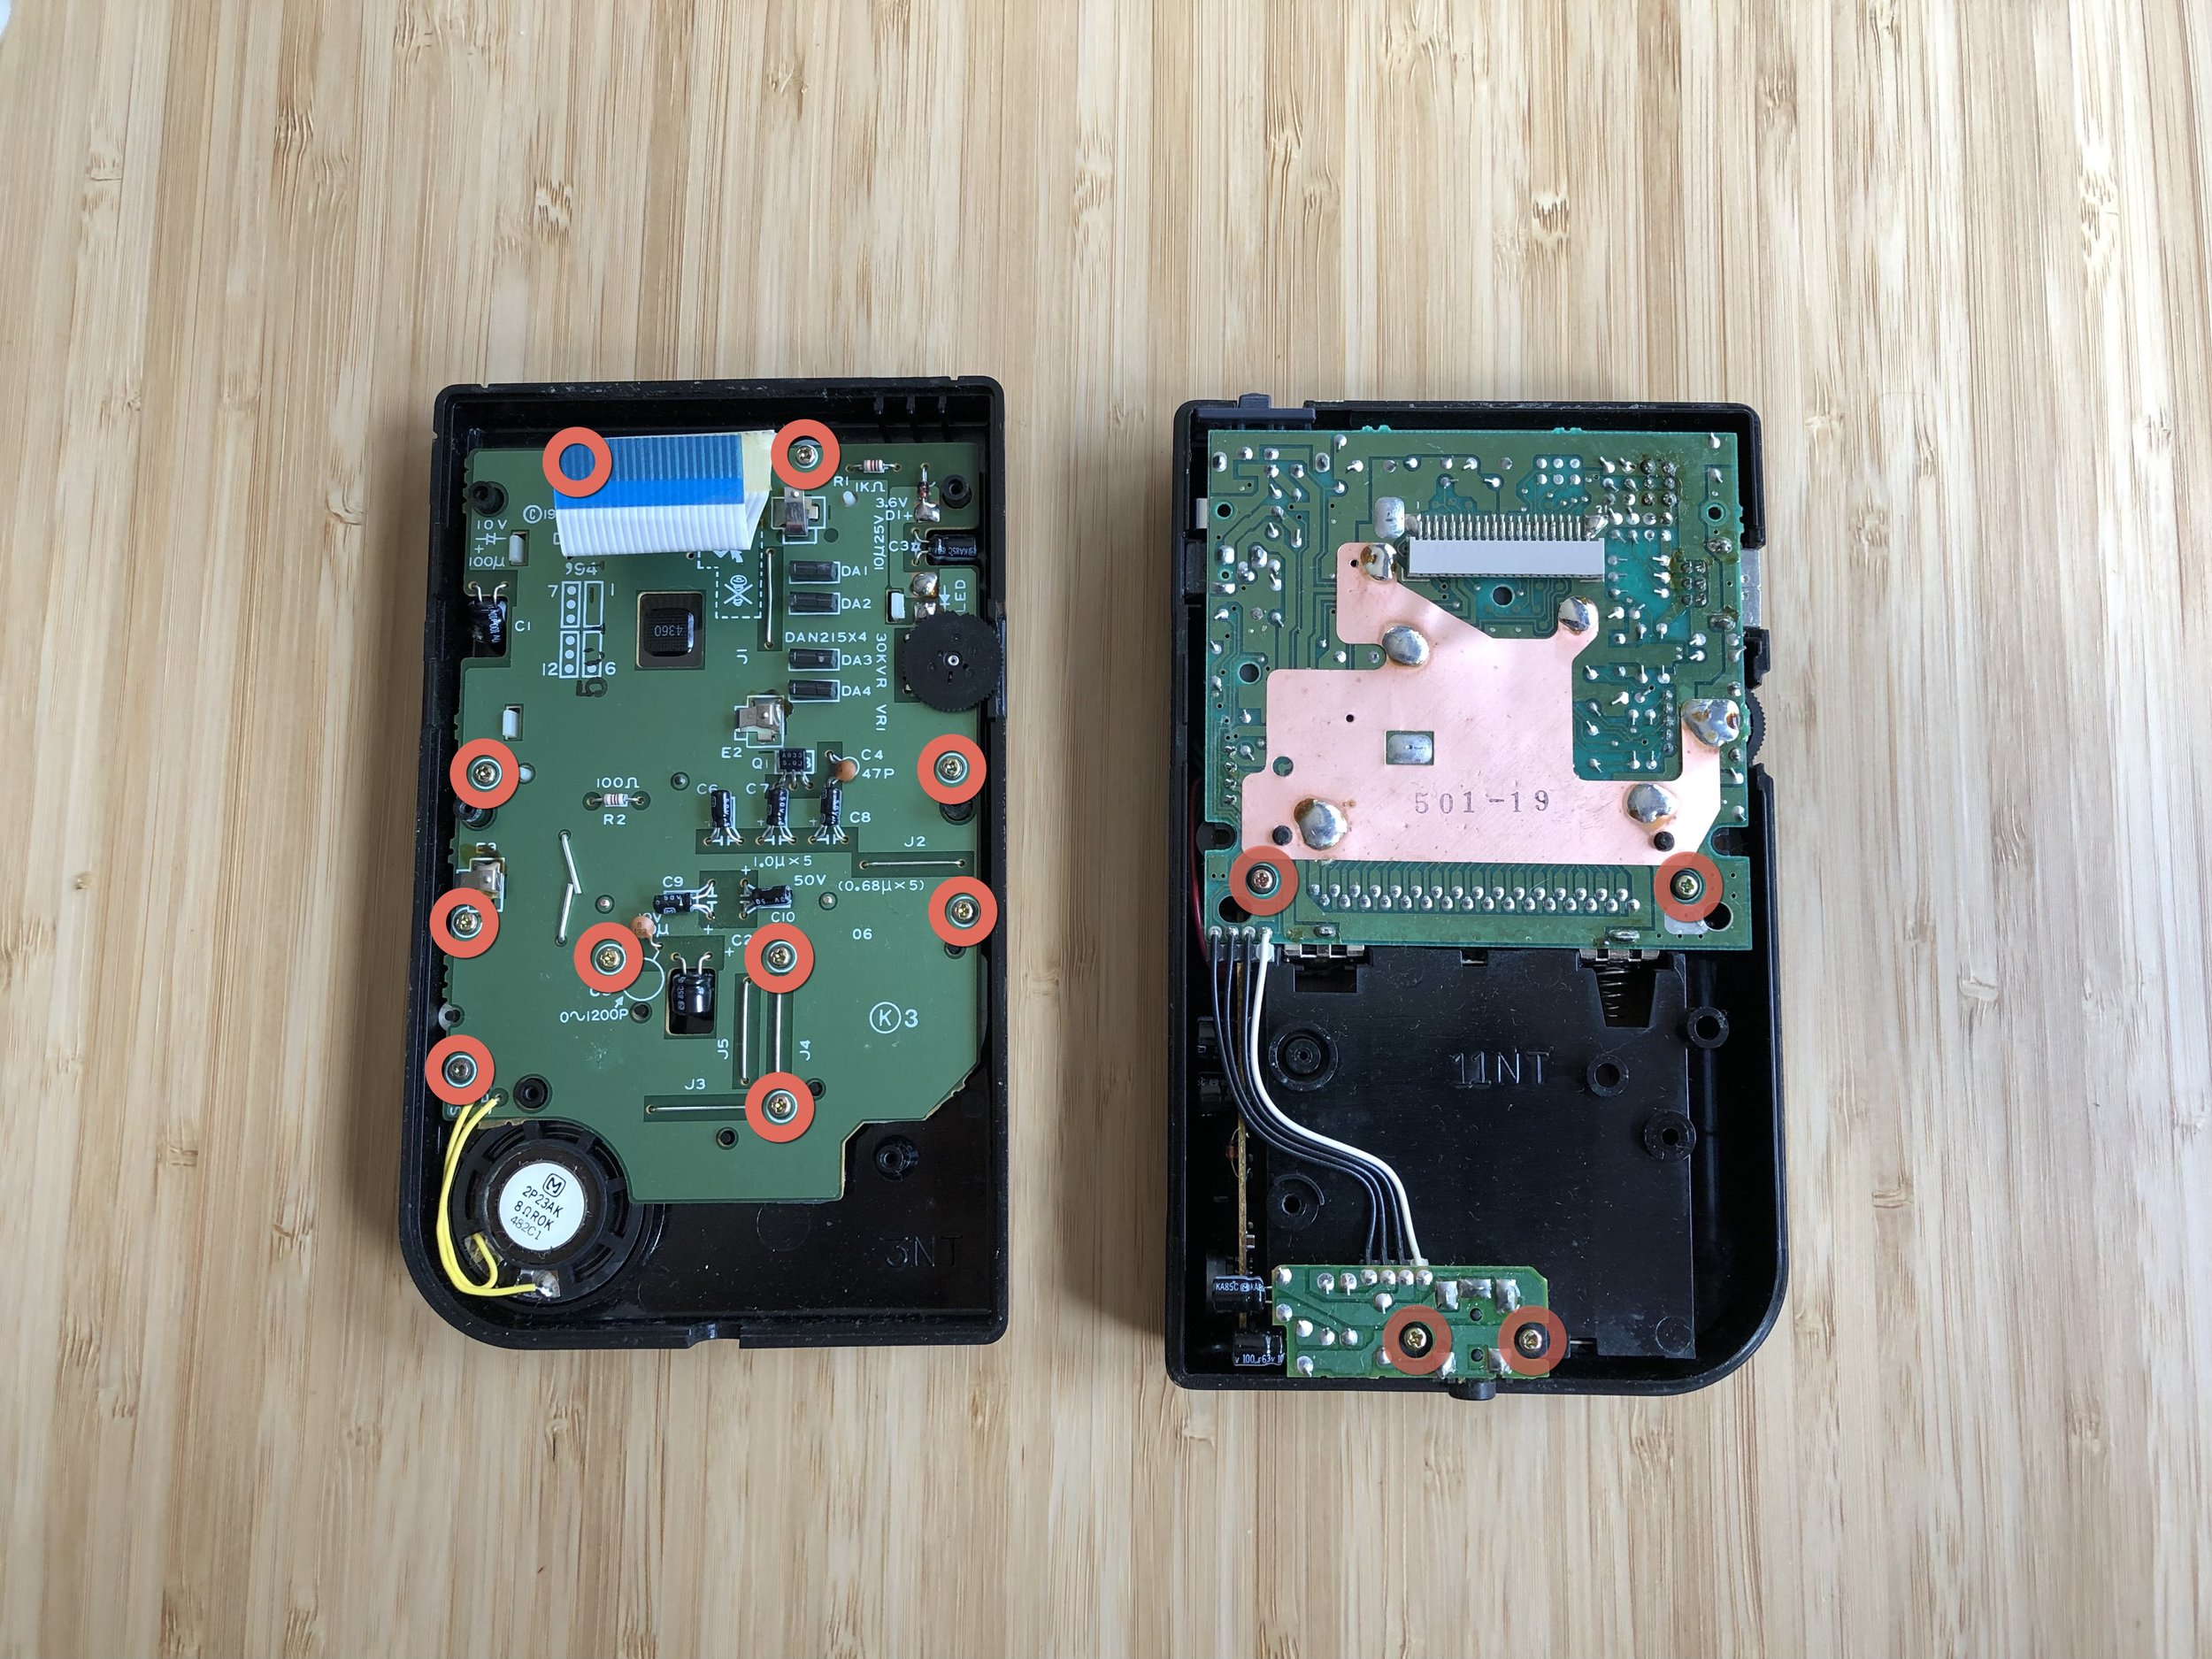
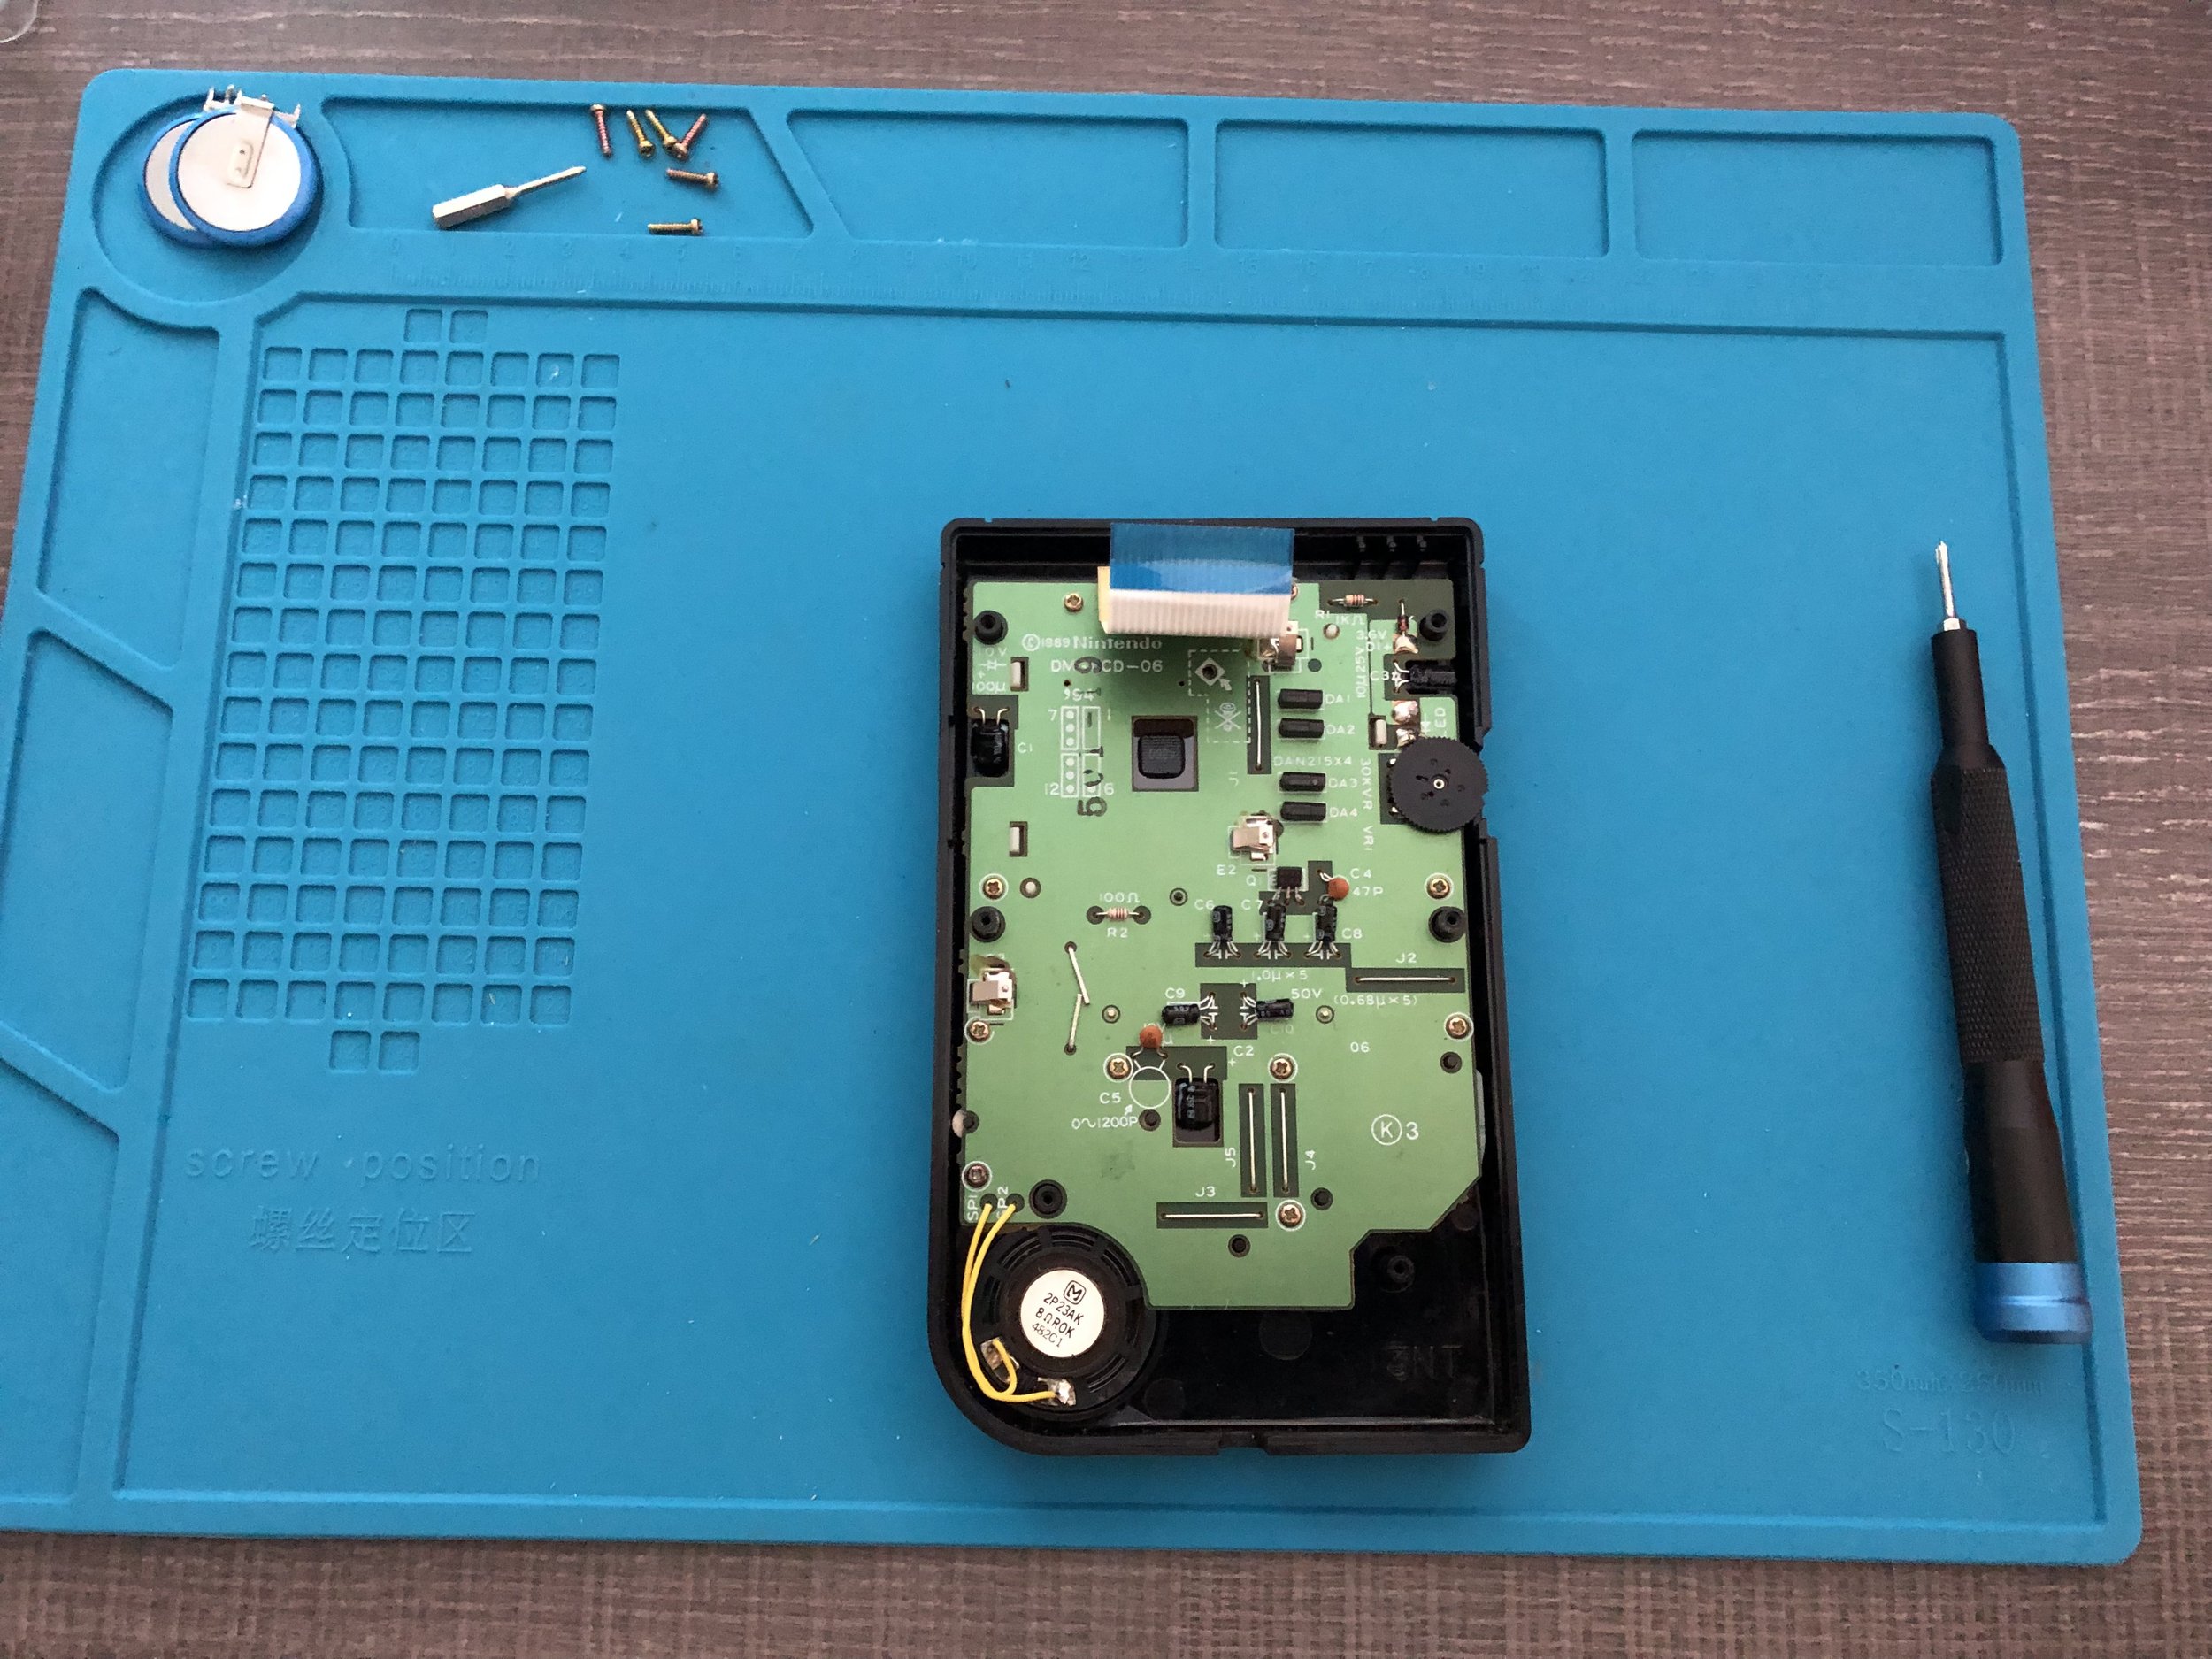
Be careful when opening the Game Boy shell. Inside there are actually two main circuit boards—one attached to the front shell and one attached to the back—and they are connected by a ribbon cable near the top. You’ll need to gently disconnect the ribbon cable in order to safely bisect the device.
On the inside, the Game Boy uses little Phillips-Head screws, so you will need one of those bits as well. If you get yourself an iFixit Toolkit—and I genuinely recommend doing so—you are sure to have every possible screw bit you might need for this kind of project…and then some!
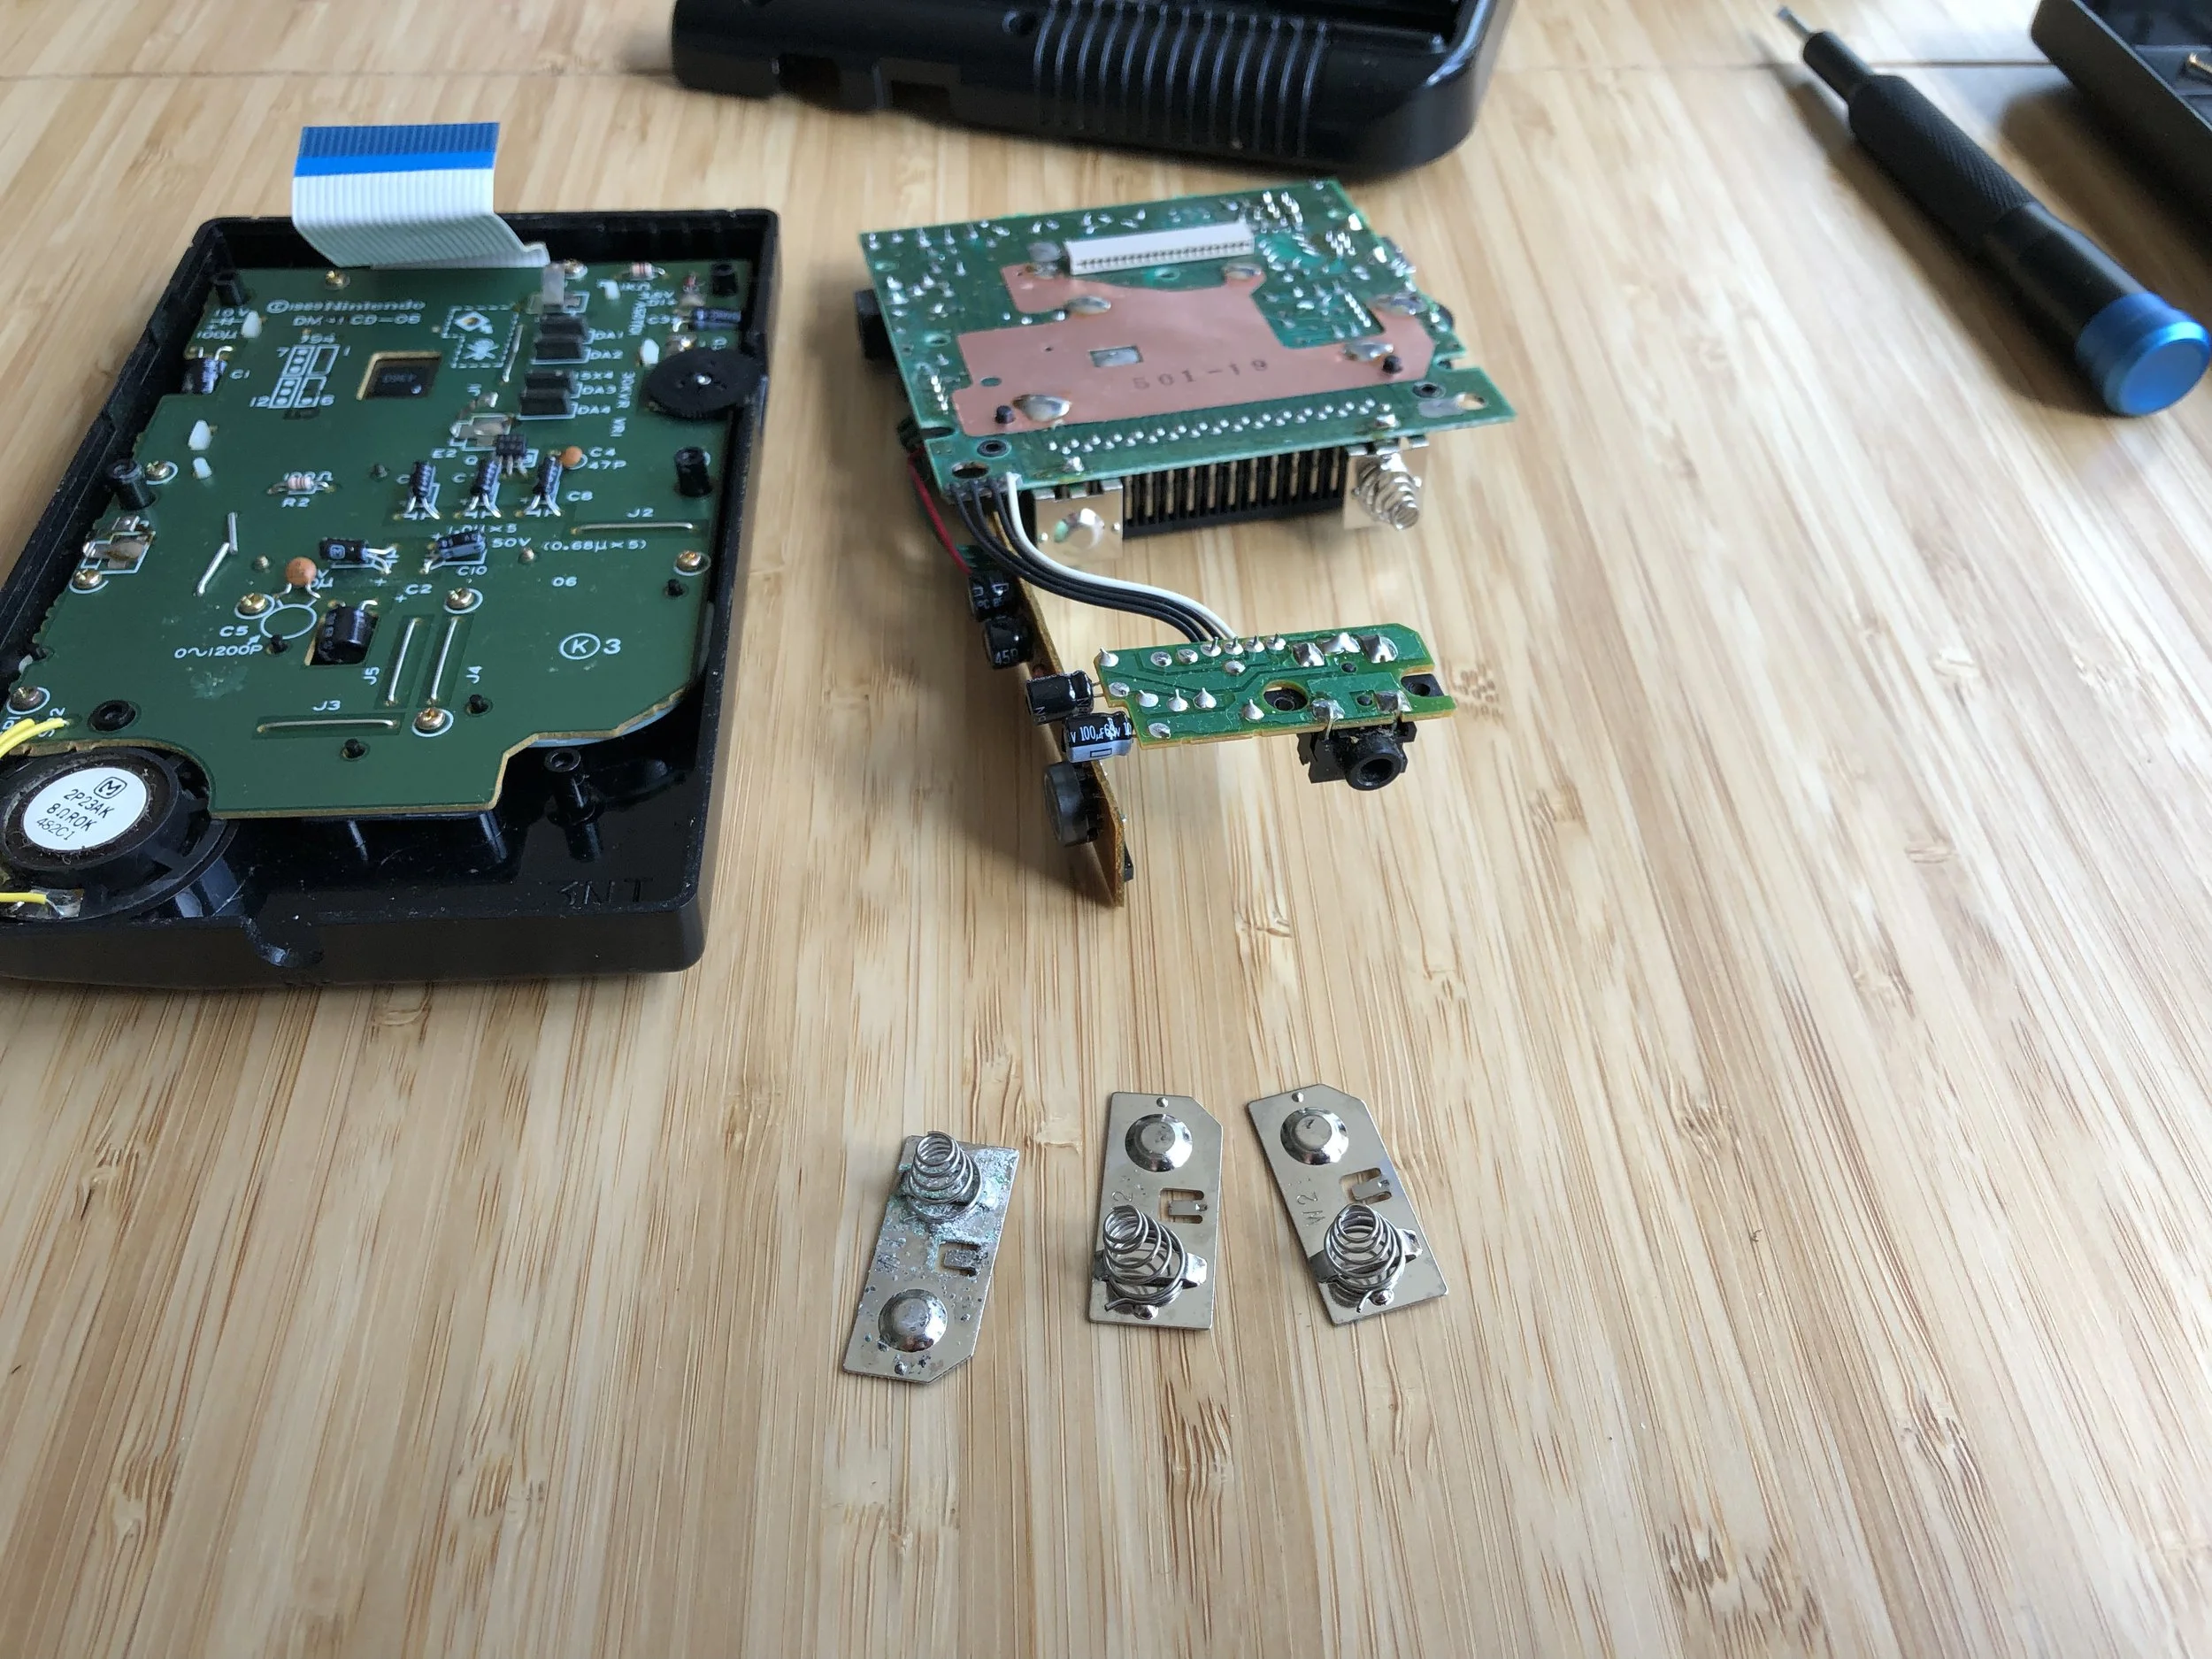
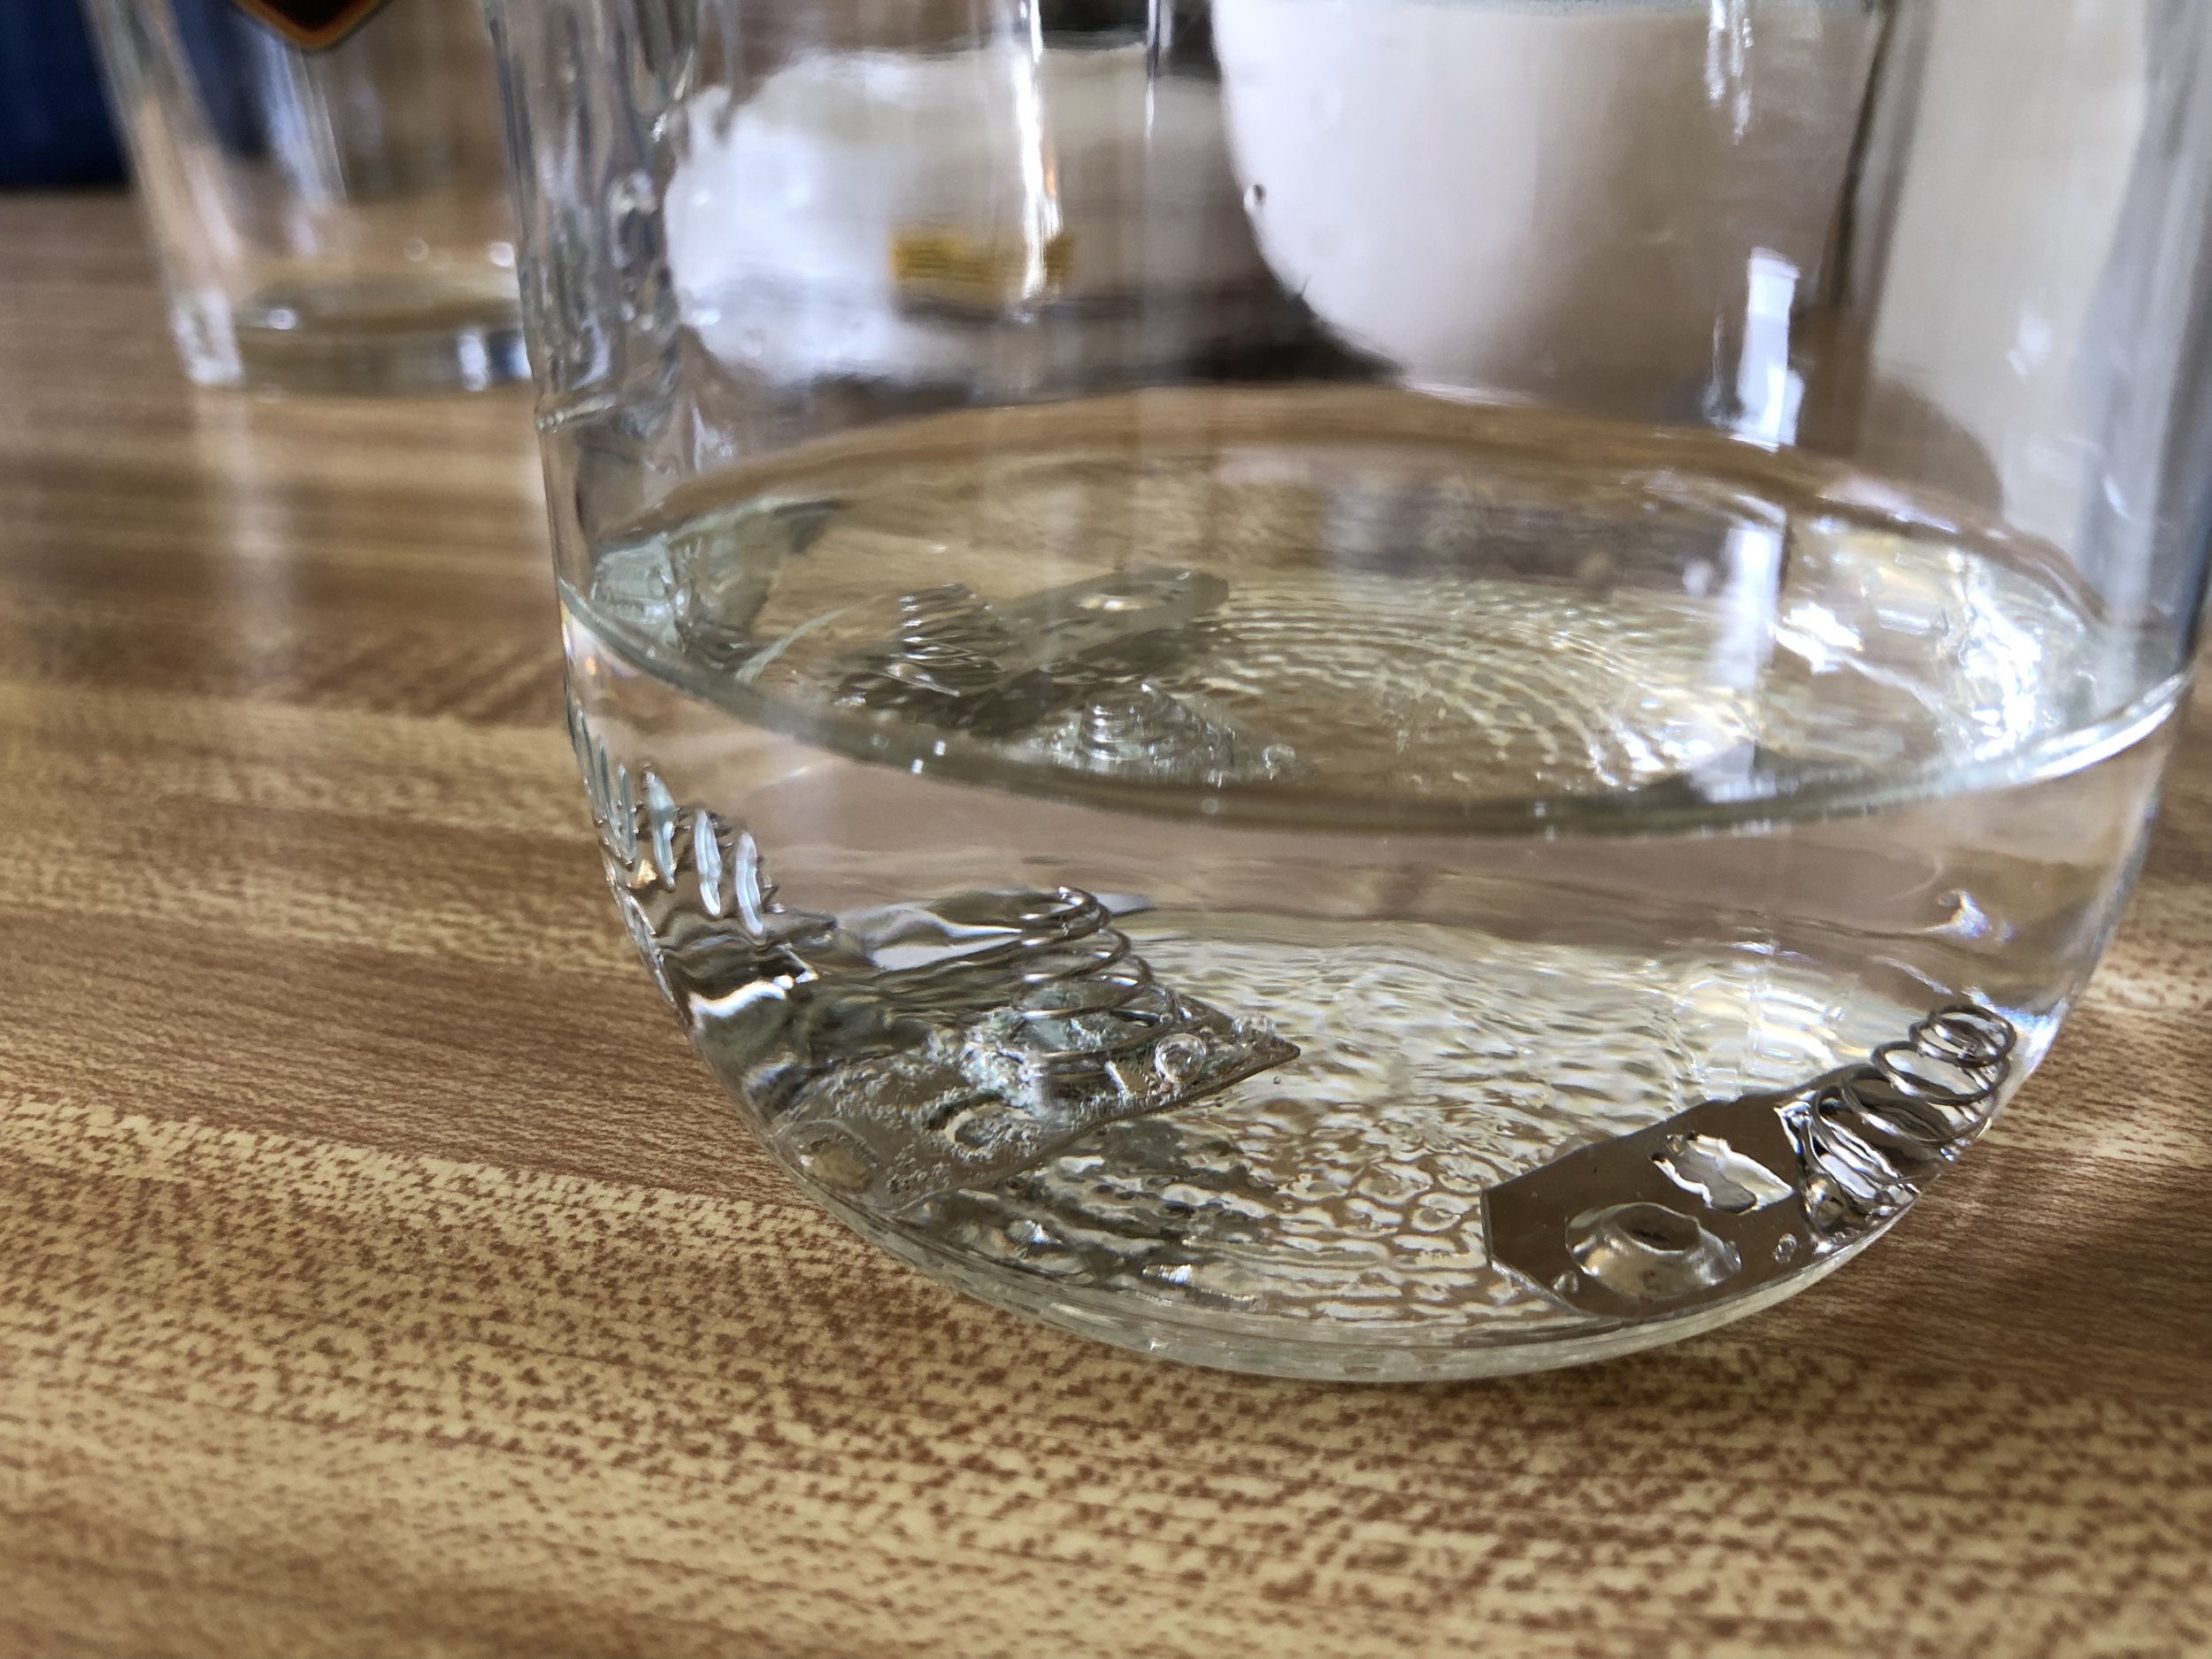
Since cleaning the battery contacts is our primary goal, I start with the back shell. Only four screws hold everything in place there, so it’s pretty easy to get everything disassembled. After removing the battery contacts from the device, the translucent teal corrosion turned about to be a lot worse than I expected and definitely calls for a deep cleaning. I poured some white vinegar into a glass and let the contacts soak in it for a couple hours.
While the acidic vinegar works its magic, I disassemble the front shell as well, in order to clean the area where the replacement lens will go, and the buttons too. There are 10 screws holding the motherboard in place, and after removing them the whole thing comes loose.
After giving all shell and button pieces a good scrubbing, and using some alcohol to clean areas where the circuit boards themselves looks dirty, it’s time to put the Game Boy back together again. I basically just reverse the steps I took for disassembly and double-check that all buttons can be pressed before screwing the shell back together.
The replacement screen lens I got comes ready with its own adhesive, so I just stick the sucker in place and we’re all set. Not to shabby!
For the moment of truth, I place four fresh AA batteries in the device and flip the power switch. And to my delight, the old brick turns on!
Unfortunately though, the operation was not a complete success. While the handheld was able to power on, there is no sound coming out of its speaker. Could I have damaged the speaker during the disassembly or reassembly steps? Well yeah, probably. It’s not like I really know what I’m doing here.
So I order a replacement speaker from Funny Playing and plan to return to the restoration project later. Changing the speaking will require a little soldiering and I don’t actually know how to do that yet…
TWO YEARS LATER with a replacement speaker and my brother’s soldering iron, I am finally ready to complete the Game Boy restoration.
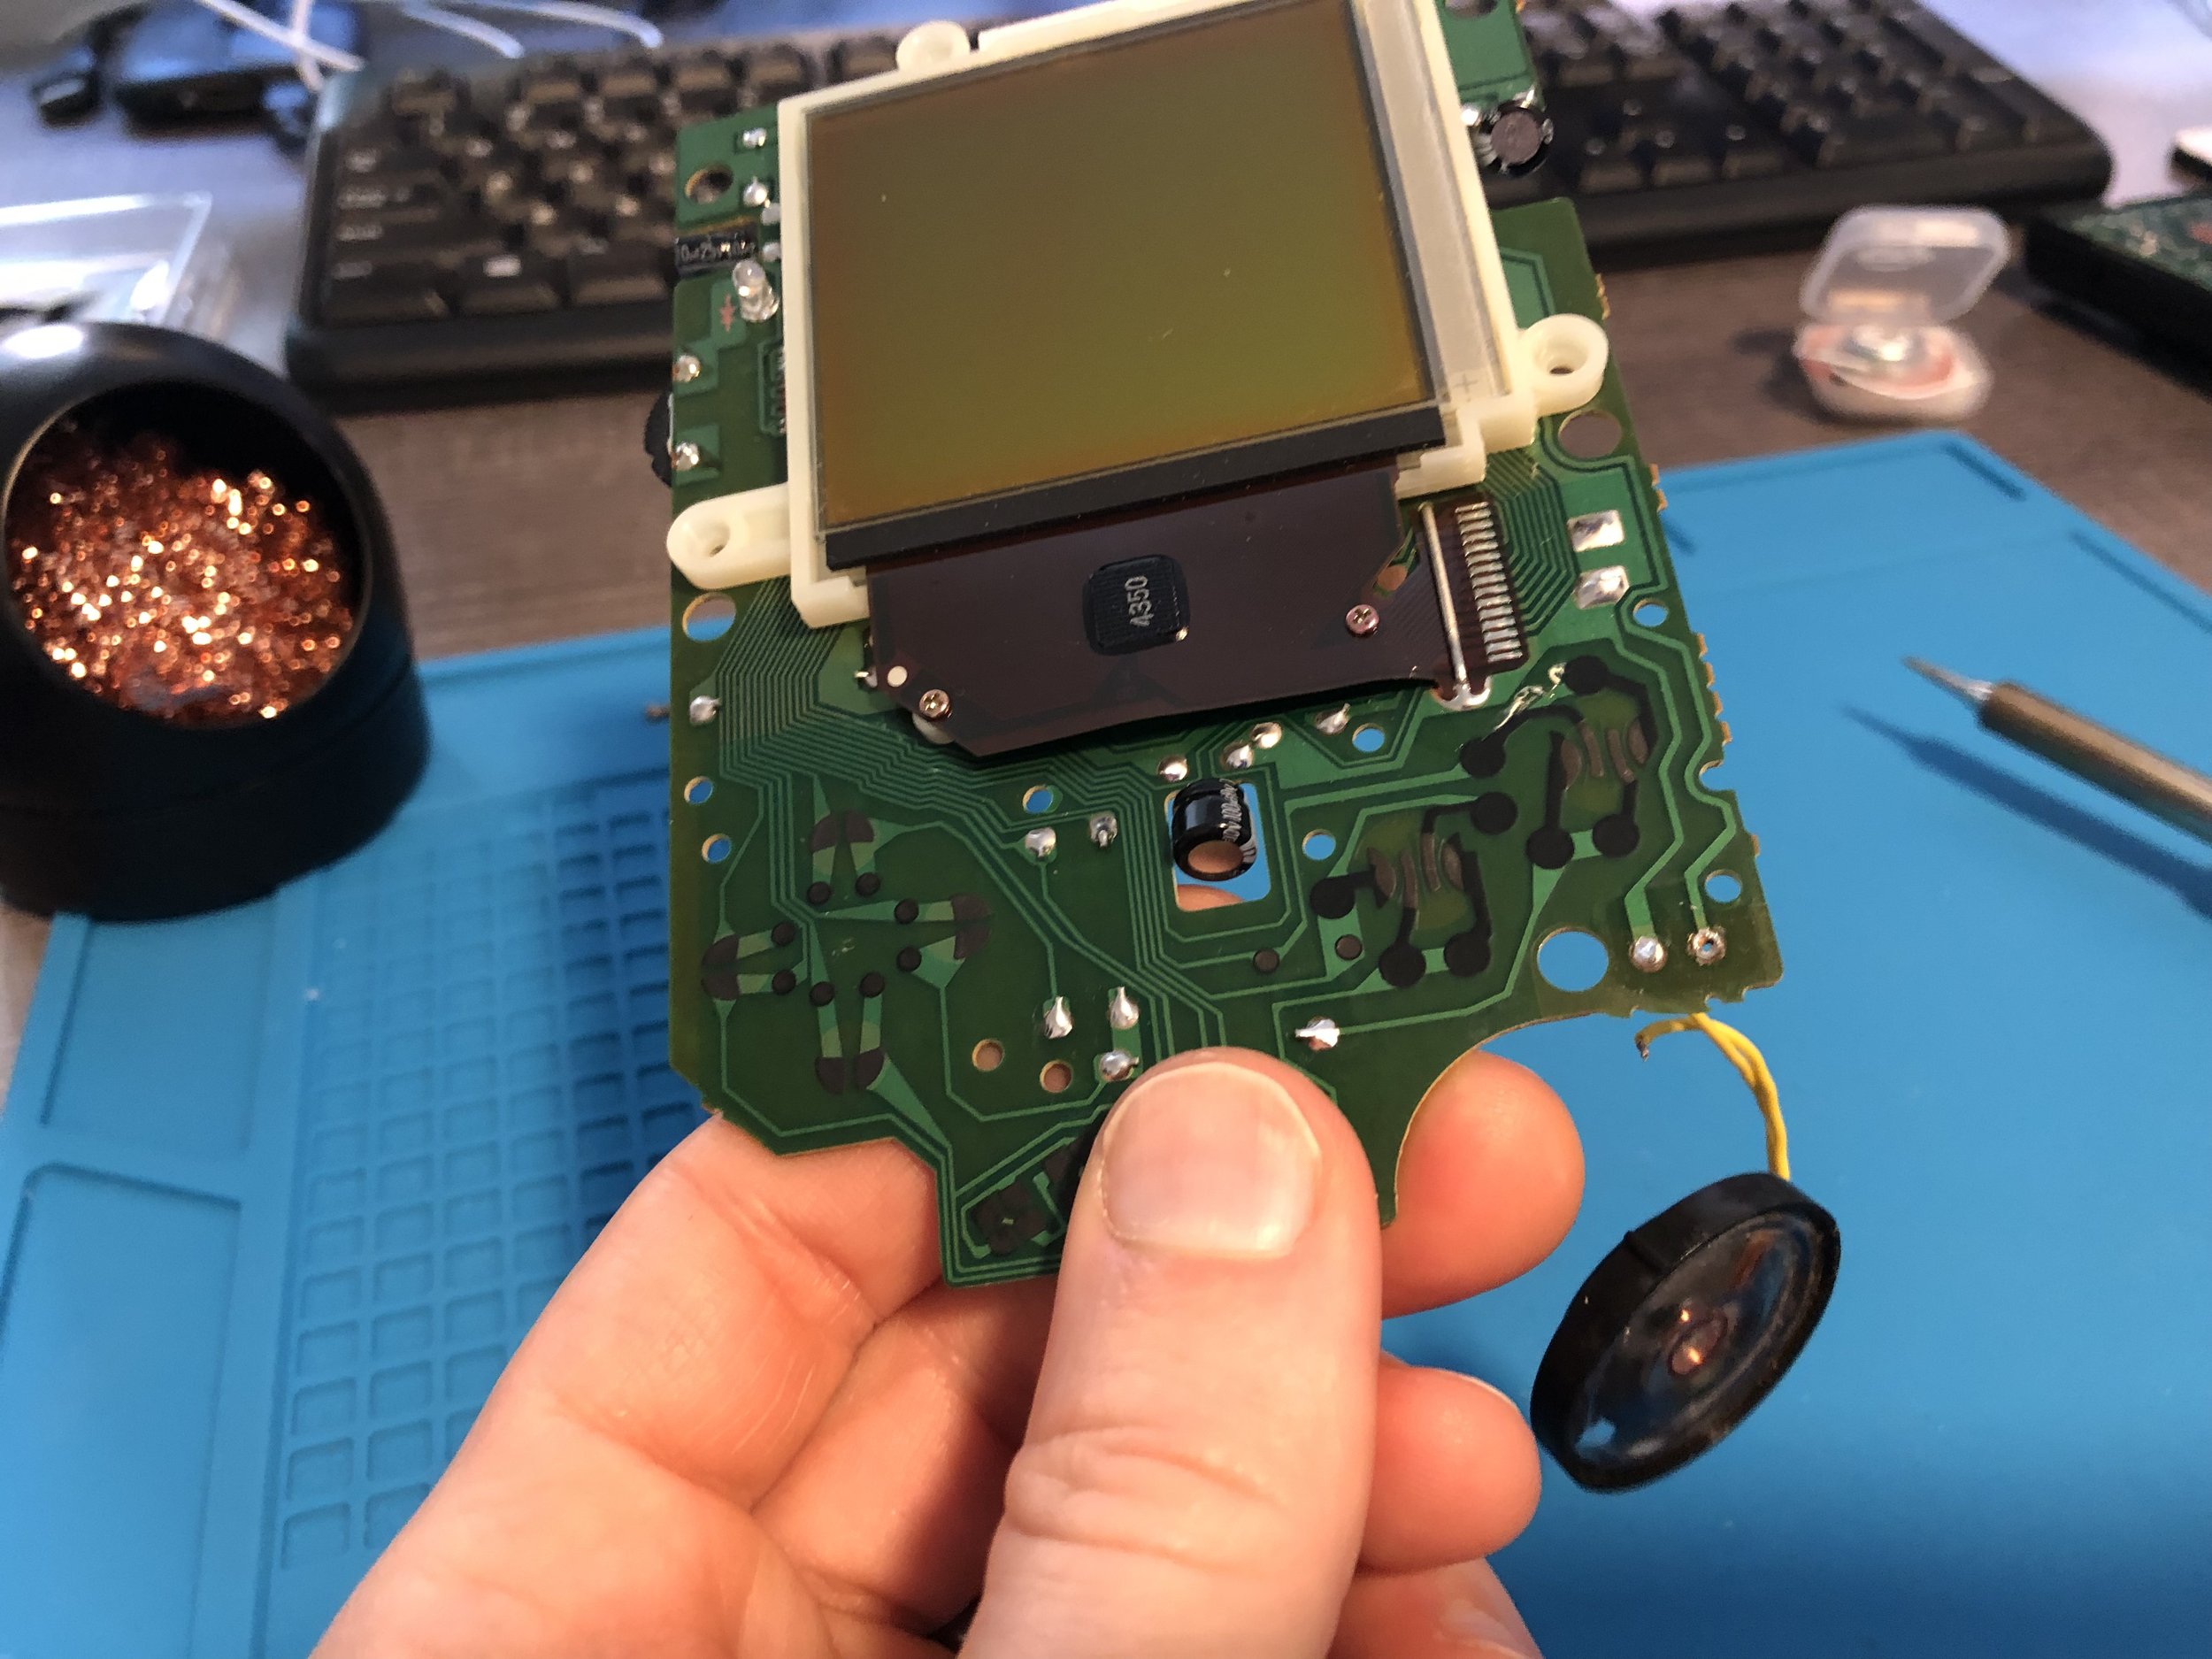
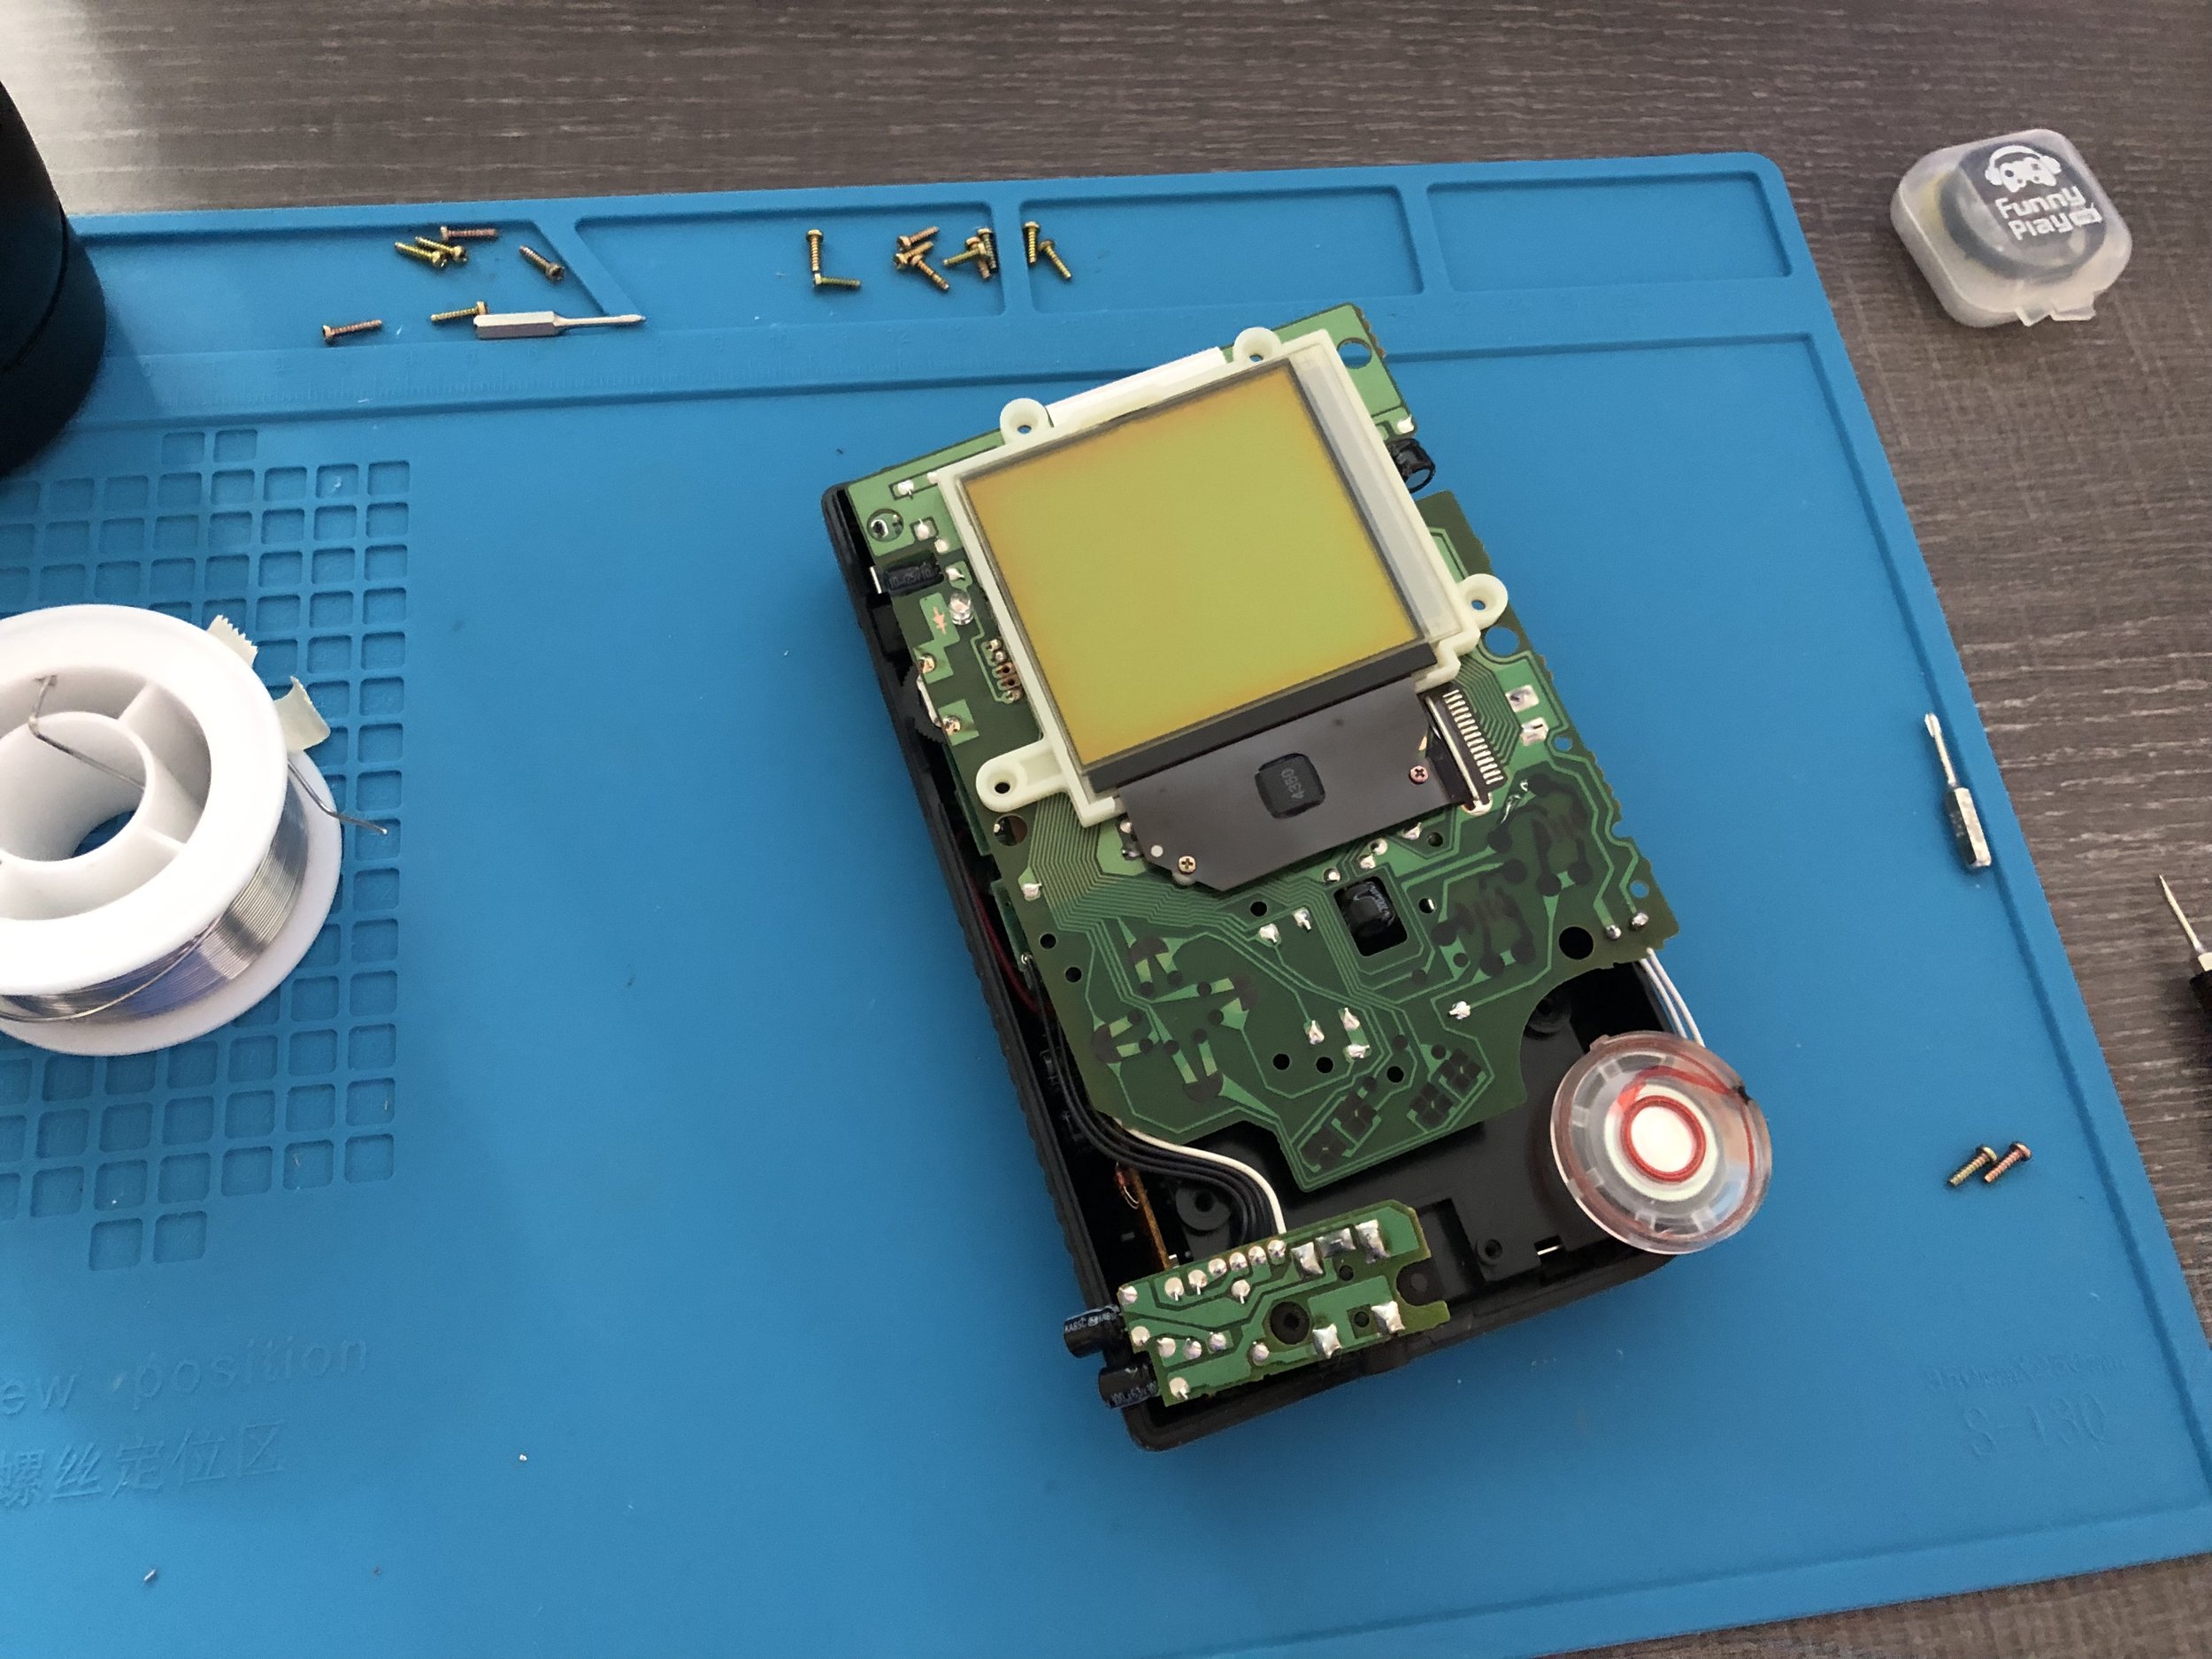
Disassembling the Game Boy is the same as before: six Tri-Wing screws on the back to open the shell—then be careful with that ribbon cable—and 10 Phillips-Head screws to free up the board on the front shell. Working with the board alone, we can start soldering.
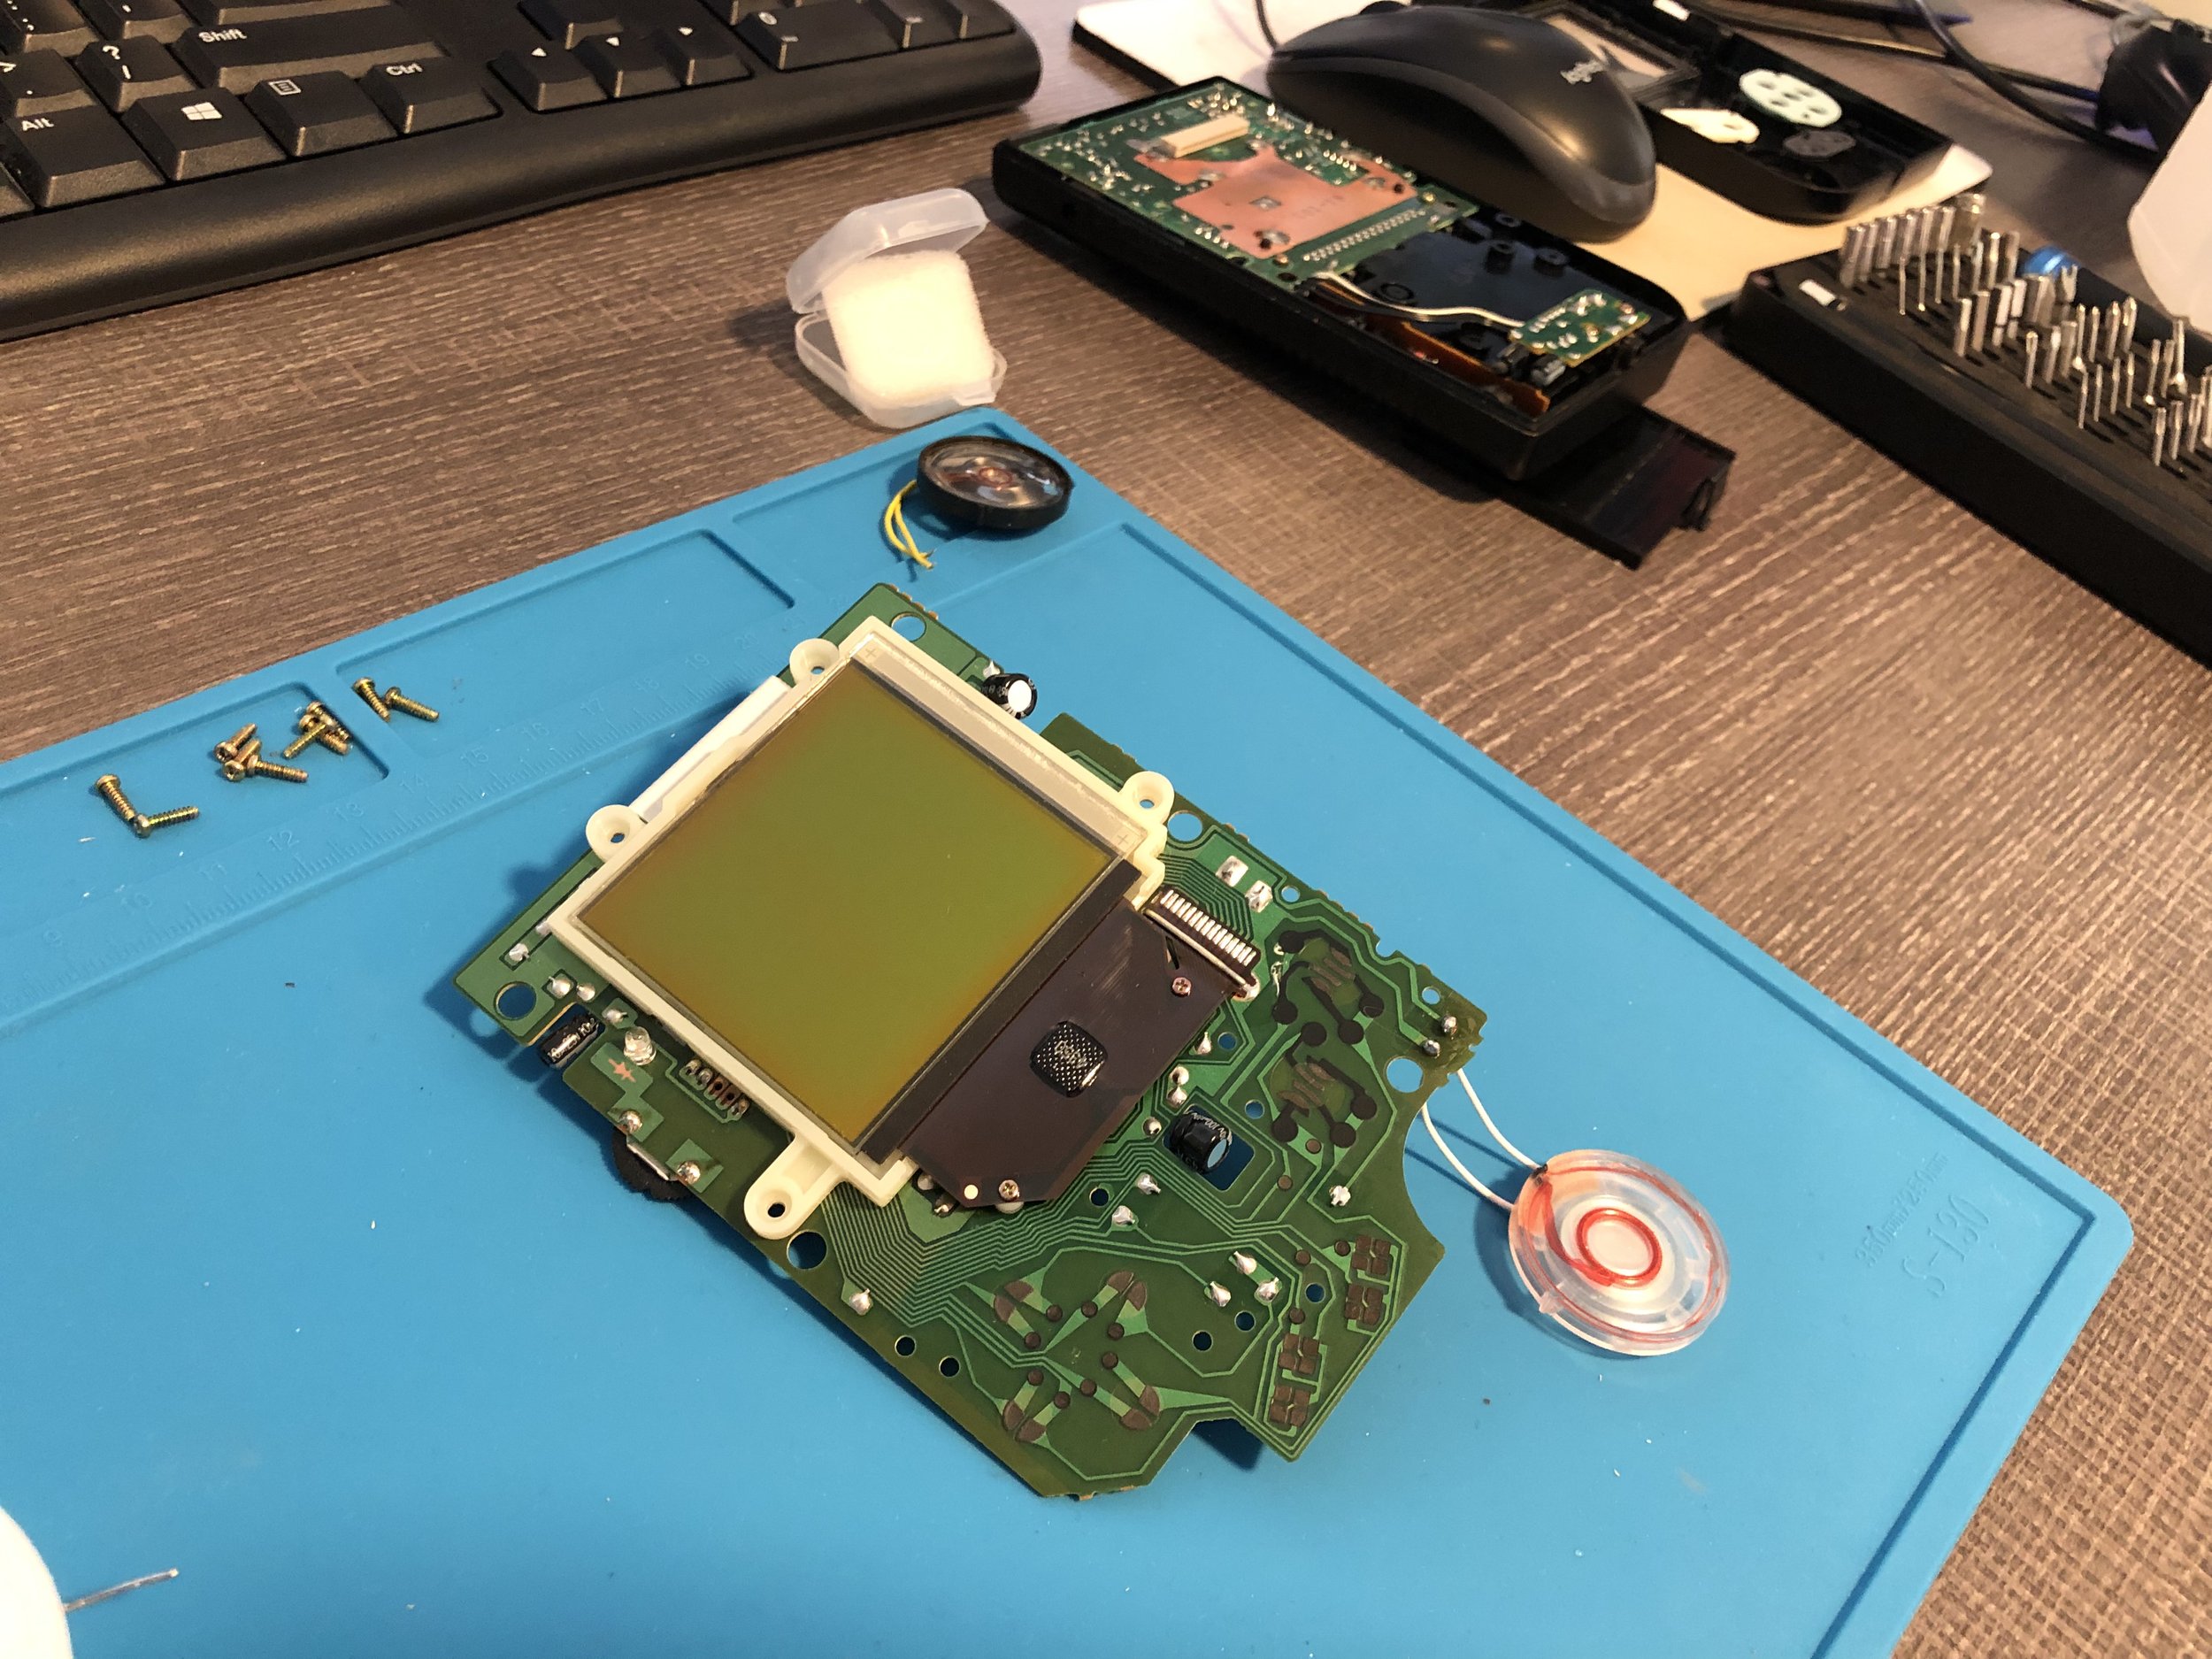
Our speaker attaches to the motherboard via two wires using throughhole connections, so the first step is to desolder those wires. This is pretty simple to do: just apply the hot soldering iron tip directly on the throughhole until the solder melts and the wire comes free. Then clear away any remaining solder so that you can make a new connection.
Once both wires have been desoldered, you can solder in the wires of your replacement speaker. This is pretty straightforward to do with these throughhole connections too. Just thread the wire through the hole and solder the tip of the wire at the front of the board. Easy!
One speaker wire desoldered, one to go.
Before screwing the whole handheld back together, I decided to double-check that the new speaker was working. And—plot twist—it was not!
Even though my soldering looked pretty good, I still wasn’t getting any sound from the speaker. Clearly something other than the speaker itself was causing this audio problem.
New speaker soldered in. We’re looking good!
At this point I vaguely remembered seeing a YouTube video that discussed Game Boy audio issues a while back. In that video, a guy explained that his Game Boy wasn’t producing sound, but not because the speaker was broken. The problem was that the component responsible for switching audio output between the speaker and headphone jack had failed, and so his device was stuck on headphone output. Basically the Game Boy always thought headphones were inserted, even when they weren’t, and that disabled the speaker.
If you suspect your Game Boy is having this particular issue, you can test it. Simply bridge two contacts on the smallest circuit board with a metal conductor (like a paperclip or a screwdriver) and see if the audio starts playing through the speaker.
In my case, bridging these two contacts worked and sound started coming out of the speaker. So the problem was the audio switching component all along, not the speaker.
With this revelation, I thoroughly cleaned that little board with isopropyl alcohol and Qtips. My hope was that—just like with the battery contacts before it—corrosion was the culprit and it simply needed to be cleared away. There was, of course, always the possibility that this particular component was broken and being stuck on headphone output was permanent.
Luckily, the extra thorough cleaning worked and my DMG Game Boy is back to full working order!
As it turns out, I didn’t need to order a replacement speaker, and I didn’t even need to solder anything at all. I simply needed to clean the internal components a little bit better. Well, I guess that’s how it goes sometimes. The more you know….


